


Cast iron cookware is known for its unmatched durability, heat retention, and naturally non-stick performance—but only when it is properly seasoned. Seasoning is not just a one-time process; it is the foundation of how your cookware performs over time. Done right, it creates a smooth, protective layer that enhances cooking, prevents rust, and improves with every use.
At its core, seasoning works through a process called polymerization, where oil bonds to the surface of the iron under heat, forming a hard, protective coating. This layer is what gives cast iron its signature non-stick quality without any synthetic coatings.
Whether you are preparing a brand-new pan or restoring an older one, this detailed, step-by-step guide will help you season cast iron the right way for long-lasting results.
Table of Contents
- 1. Clean the Pan Thoroughly
- 2. Dry the Pan Completely
- 3. Apply a Thin Layer of Oil
- 4. Heat the Pan in the Oven
- 5. Let It Cool Gradually
- 6. Repeat the Process for Stronger Seasoning
- 7. Alternative Method
- 8. How to Maintain Your Seasoned Cast Iron
- 9. Common Mistakes to Avoid
- 10. When Should You Re-Season?
- 11. Final Thoughts
Step 1: Clean the Pan Thoroughly
The first step to proper seasoning is starting with a completely clean surface.
Wash your cast iron pan using warm water and a small amount of mild dish soap. This is one of the rare times soap is not only acceptable but recommended, especially for new cookware that may have factory residues or for older pans that need deep cleaning.
Use a scrub brush or sponge to remove any dirt, oil, or rust. If you are restoring an older pan, you may need to scrub a little more thoroughly to ensure the surface is free from buildup. A clean base ensures that the new seasoning layer bonds evenly and effectively.

Step 2: Dry the Pan Completely
Moisture is one of the biggest enemies of cast iron. Even small traces of water can lead to rust, which interferes with seasoning.
After washing, wipe the pan dry with a clean cloth or paper towel. Then place it on a stovetop over low heat for a few minutes to evaporate any remaining moisture. This step ensures the pan is completely dry and ready to absorb oil evenly.
Step 3: Apply a Thin Layer of Oil
This is the most critical step in the seasoning process—and the one most often done incorrectly.
Apply a small amount of cooking oil such as flaxseed oil, rice bran oil, sunflower oil, or vegetable oil. Spread it evenly across the entire pan, including the cooking surface, outer surface, and handle.
Once coated, take a clean cloth or paper towel and wipe off all excess oil. The pan should look lightly polished, not greasy. A thin layer is essential because excess oil can lead to a sticky, uneven finish instead of a smooth, durable coating.
Step 4: Heat the Pan in the Oven
For the most consistent and long-lasting results, oven seasoning is the preferred method.
Preheat your oven to around 200–230°C. Place the pan upside down on the middle rack, and keep a tray or foil on the lower rack to catch any oil drips.
Let the pan heat for 45 to 60 minutes. During this time, the oil undergoes polymerization, bonding with the iron to form a hard, protective layer.
Heating the pan upside down prevents excess oil from pooling and ensures an even coating across the surface.
Step 5: Let It Cool Gradually
Once the heating cycle is complete, turn off the oven and allow the pan to cool inside.
Gradual cooling helps the seasoning layer set properly and prevents sudden temperature changes that could affect the coating. Avoid removing the pan immediately, as rapid cooling can disrupt the bonding process.
Step 6: Repeat the Process for Stronger Seasoning
While one round of seasoning is enough to get started, repeating the process two to three times creates a stronger and more resilient coating.
Each layer builds upon the previous one, resulting in a smoother, darker surface that improves cooking performance over time. This is especially useful if you want a more refined, naturally non-stick finish from the beginning.
Alternative Method: Seasoning on a Gas Stove
If using an oven is not convenient, you can season your cast iron on a gas stove.
After applying a thin layer of oil, place the pan on medium heat and rotate it occasionally to ensure even heating. Continue heating until the oil begins to smoke lightly, indicating that the bonding process has started.
While this method is quicker, it may not provide the same uniform results as oven seasoning, especially for beginners.
How to Maintain Your Seasoned Cast Iron
Once your cast iron is properly seasoned, maintaining it is simple and requires only a few consistent habits.
Clean the pan with warm water and a soft scrub after each use. Avoid soaking it for long periods. Dry it immediately and place it on low heat briefly to remove any residual moisture. Applying a very light layer of oil after cleaning helps preserve the seasoning and prevents rust.
Over time, regular cooking—especially with oils and fats—will naturally strengthen the seasoning, making the surface smoother and more non-stick.
Common Mistakes to Avoid
One of the most common mistakes is using too much oil during seasoning. This results in a sticky or patchy surface rather than a smooth coating. Always remember that less is more.
Skipping the drying step is another frequent issue. Any remaining moisture can lead to rust and interfere with the seasoning process.
Not heating the pan sufficiently is also a problem. Proper heat is essential for polymerization; without it, the oil will not bond effectively to the surface.
Finally, expecting instant non-stick performance can lead to disappointment. Cast iron improves gradually, and its performance gets better with repeated use and proper care.
When Should You Re-Season?
Even well-maintained cast iron may occasionally need re-seasoning.
You should consider re-seasoning if you notice rust forming, food sticking more than usual, or the surface appearing dull or uneven. A quick seasoning cycle can restore the pan’s performance and protect it for continued use.
Final Thoughts
Seasoning cast iron the right way transforms it from a simple piece of metal into a high-performance cooking tool. With the right technique and a little patience, you can build a naturally non-stick surface that improves with every meal you cook.
Unlike other types of cookware, cast iron rewards consistency. The more you use and care for it, the better it performs. With proper seasoning and maintenance, a cast iron pan can last not just for years, but for generations—making it one of the most valuable additions to any kitchen.
MORE FROM BLOG
Top Collections
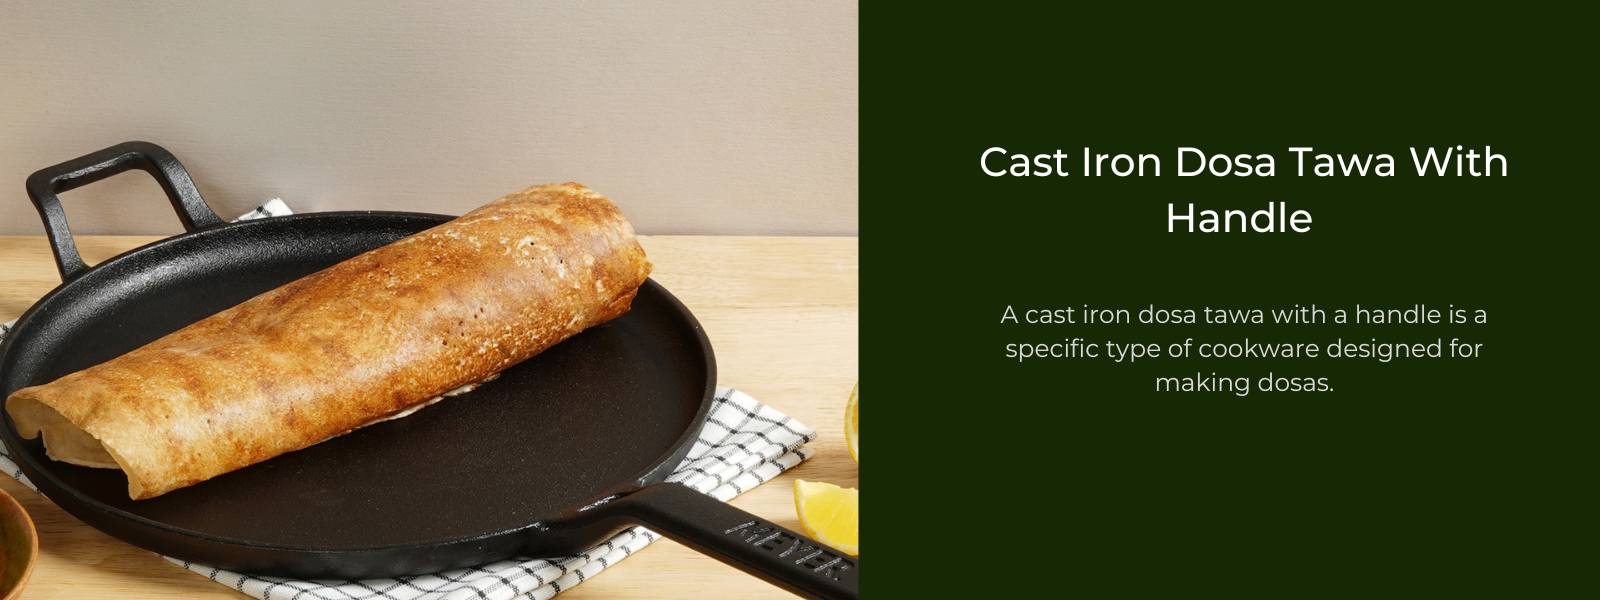
Cast Iron Dosa Tawa With Handle For Ease Of Use
2 Items
Cast Iron Griddle: Must-Have Cookware For Grilling
2 Items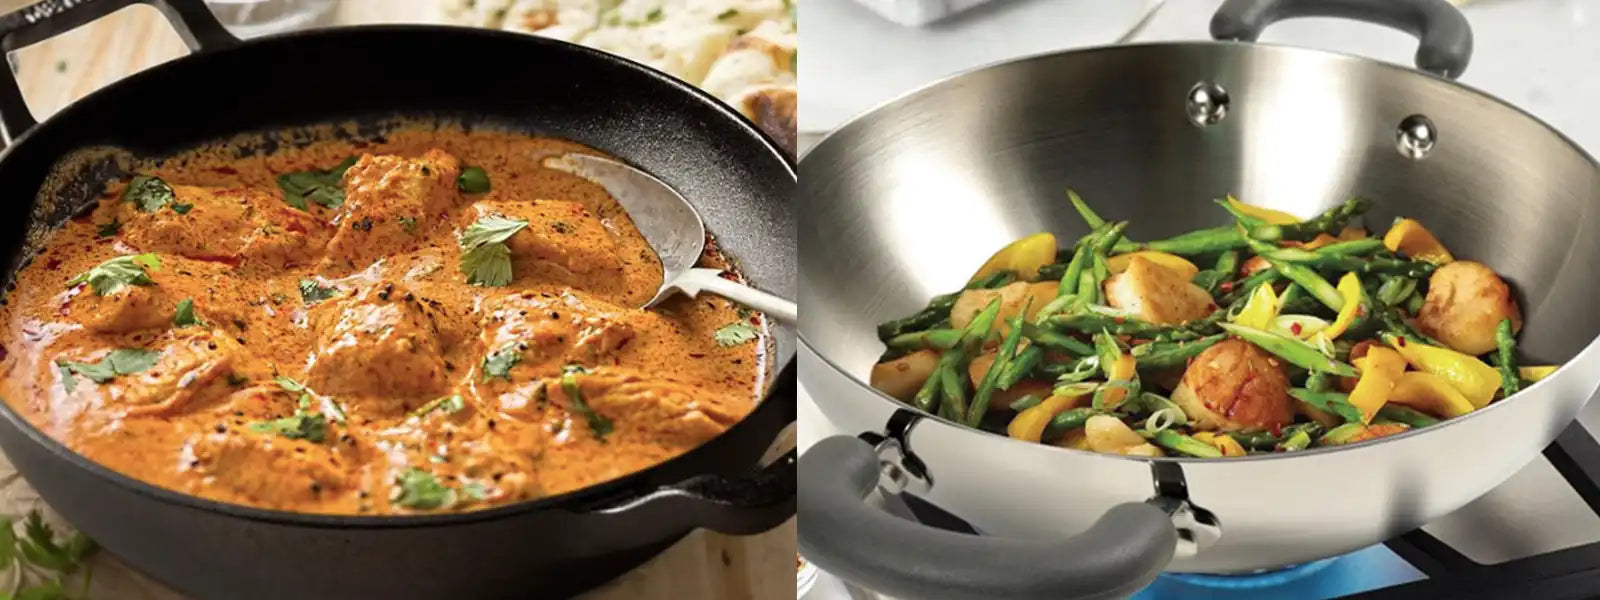
Cast Iron vs. Stainless Steel Cookware (What's the Difference?)
2 Items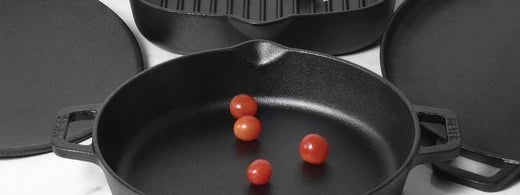
Does cast iron make food taste better?
2 Items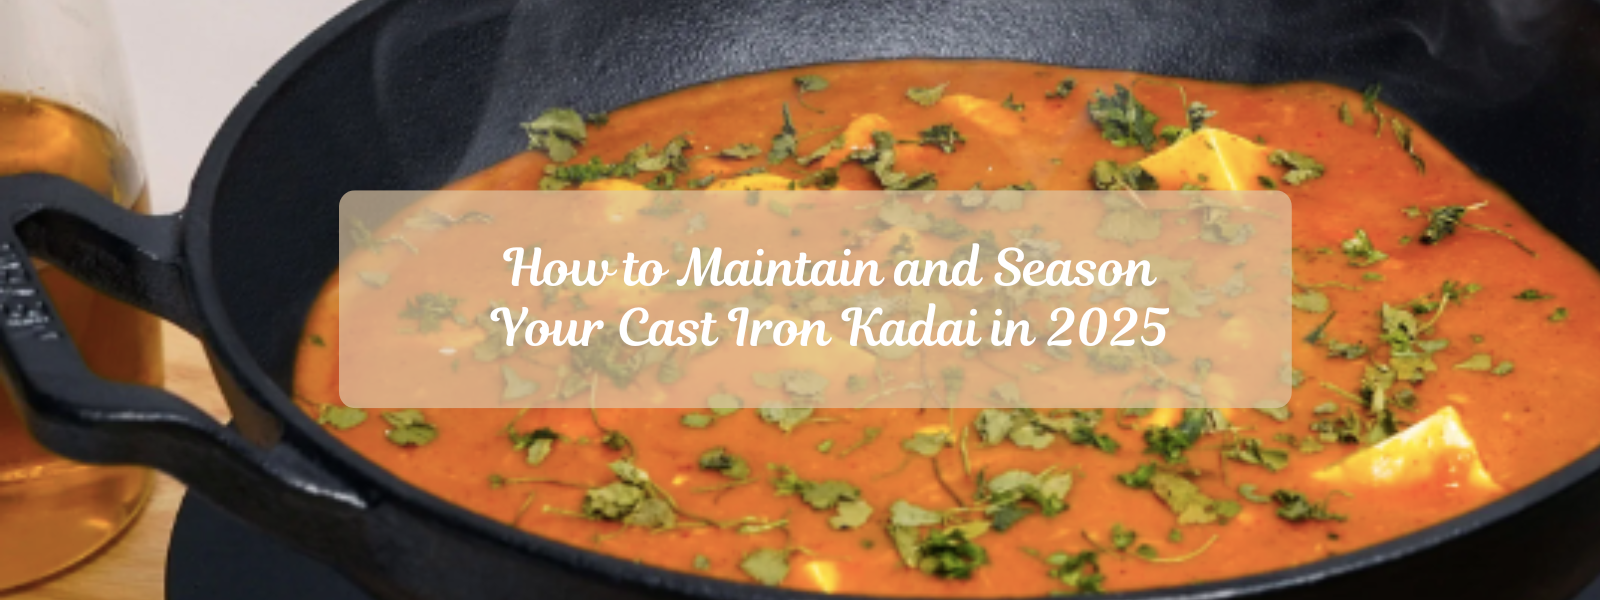
How to Maintain and Season Your Cast Iron Kadai in 2025
2 Items


Leave a comment