


Baking with non-stick bakeware opens up a world of possibilities for making delicious treats with minimal hassle. Whether you’re a seasoned baker or a beginner, these baking hacks will help you make the most of your non-stick bakeware, allowing you to achieve perfect results, reduce clean-up time, and experiment with new techniques effortlessly. Let’s dive into these easy hacks!
Table of Contents
- 1. Use Parchment Paper for Extra Easy Release
- 2. Cool Bakes in the Pan for Easy Removal
- 3. Freeze Batter in Non-Stick Muffin Pans for Individual Portions
- 4. Create Perfectly Even Layers with Non-Stick Springform Pans
- 5. Skip Greasing When Making Low-Fat Treats
- 6. Use a Honeycomb-Patterned Pan for Better Browning
- 7. Make Mini Dishes in Non-Stick Muffin Tins
- 8. Avoid Metal Utensils for Long-Lasting Performance
- 9. Get Crispier Edges on Cookies Using Non-Stick Cookie Trays
- 10. Stack Layers Directly on the Pan for Faster Clean-Up
- 11. Use Non-Stick Loaf Pans for Perfect No-Knead Bread
- 12. Cool Chocolate-Dipped Treats in the Fridge on Non-Stick Bakeware
- 13. Preheat Non-Stick Pans for Better Searing on Roasted Items
- 14. Final Thoughts
Use Parchment Paper for Extra Easy Release
- The Hack: While non-stick bakeware already provides easy release, adding a layer of parchment paper offers extra insurance, especially for sticky bakes like brownies, bars, and cheesecakes.
- How to Do It: Cut parchment to fit the bottom of the pan, and if needed, the sides. This way, you can lift out bars and cakes by pulling up on the parchment. Your bakeware stays cleaner, and your treats come out in one piece.
Cool Bakes in the Pan for Easy Removal
- The Hack: When using non-stick bakeware, allow baked goods to cool for a few minutes in the pan after baking before attempting to remove them. This helps the food contract slightly, making it easier to release without sticking.
- How to Do It: Leave your baked goods to cool in the pan for about 5-10 minutes, especially with cakes, muffins, or quick bread. Once slightly cooled, use a silicone spatula to lift edges gently if needed, then flip or lift them out.
Freeze Batter in Non-Stick Muffin Pans for Individual Portions
- The Hack: Non-stick muffin pans aren’t just for baking—they’re also perfect for portioning and freezing batter or dough for future use.
- How to Do It: Scoop muffin batter, cookie dough, or other mixture into the cups and freeze until firm. Pop out the portions and store them in a freezer bag. Whenever you want a quick bake, grab as many portions as needed and pop them into the pan directly to bake.
Create Perfectly Even Layers with Non-Stick Springform Pans
- The Hack: For even cake layers, non-stick springform pans help you create beautifully stacked treats without worrying about sticking or breakage.
- How to Do It: Pour batter evenly into the springform pan for each layer, bake, and release the sides carefully once cooled. You can stack and frost layers without the risk of damaging your cakes when removing them from the pan.
Skip Greasing When Making Low-Fat Treats
- The Hack: One of the biggest perks of non-stick bakeware is that it allows you to skip greasing, which is great for low-fat baking.
- How to Do It: Simply pour your batter directly into the pan. The non-stick surface provides sufficient release for most items, so you can avoid adding extra oil, butter, or sprays that may add calories. This is particularly helpful for healthy baking projects.
Use a Honeycomb-Patterned Pan for Better Browning
- The Hack: Some high-quality non-stick pans, like Meyer Bakemaster, come with a honeycomb or textured pattern that helps with airflow, which improves browning.
- How to Do It: Place your dough or batter in the honeycomb-patterned pan and bake as usual. The texture allows for better airflow around your food, helping it achieve a golden, even browning, which is particularly useful for items like cookies, bread, and roasted vegetables.
Make Mini Dishes in Non-Stick Muffin Tins
- The Hack: Muffin tins aren’t just for muffins—they’re great for baking single-serve portions of dishes like quiches, mini lasagnas, and even mini cheesecakes.
- How to Do It: Line or lightly spray the non-stick muffin cups if needed, then fill them with your mixture. This hack is perfect for meal prepping or serving party-ready portions without the hassle of cutting and plating.
Avoid Metal Utensils for Long-Lasting Performance
- The Hack: Preserve the quality of your non-stick bakeware by only using silicone, plastic, or wooden utensils.
- How to Do It: After baking, use a silicone spatula to remove baked goods from the pan, which prevents scratching. Non-stick pans are durable, but using the right tools ensures their performance and longevity.
Get Crispier Edges on Cookies Using Non-Stick Cookie Trays
- The Hack: For cookies with crispy edges and chewy centers, non-stick cookie trays help distribute heat evenly across the surface, creating that perfect texture.
- How to Do It: Place cookie dough balls evenly spaced on a non-stick cookie tray without parchment for direct contact with the pan. The non-stick coating ensures easy release, while direct contact with the metal provides extra crispiness.
Stack Layers Directly on the Pan for Faster Clean-Up
- The Hack: When making multi-layered desserts or lasagnas, you can stack layers directly in the non-stick bakeware, which prevents ingredients from clinging and simplifies serving.
- How to Do It: Prepare each layer in the same non-stick pan. When baked, each layer will release easily, saving time and reducing the mess of transferring layers.
Use Non-Stick Loaf Pans for Perfect No-Knead Bread
- The Hack: No-knead breads require minimal handling, so a non-stick loaf pan is perfect for shaping, baking, and releasing the dough with ease.
- How to Do It: Pour the bread dough directly into a non-stick loaf pan and bake as directed. The non-stick surface ensures that the crust releases cleanly, even if the dough is sticky.
Cool Chocolate-Dipped Treats in the Fridge on Non-Stick Bakeware
- The Hack: When coating treats like strawberries or cookies in chocolate, a non-stick baking sheet helps keep chocolate-dipped items intact as they set.
- How to Do It: Place the dipped treats on a non-stick tray and refrigerate. Once cooled, the chocolate-covered treats will lift off easily without breaking or leaving chocolate residue on the pan.
Preheat Non-Stick Pans for Better Searing on Roasted Items
- The Hack: For vegetables, meats, and other items that benefit from a nice sear, preheat your non-stick bakeware before placing food on it.
- How to Do It: Preheat the oven with the empty pan inside for a few minutes. Then, add your food to the hot pan and return it to the oven for crispier, caramelized results.
Final Thoughts
Non-stick bakeware is an invaluable tool that not only makes baking easier but also enhances results, encourages healthier choices, and simplifies cleanup. By using these baking hacks, you can maximize the versatility of your non-stick bakeware for a wide range of recipes. Whether you’re a beginner or an experienced baker, these simple tips and tricks will ensure you get the most out of your non-stick bakeware for perfectly baked results every time!
MORE FROM BLOG
Top Collections
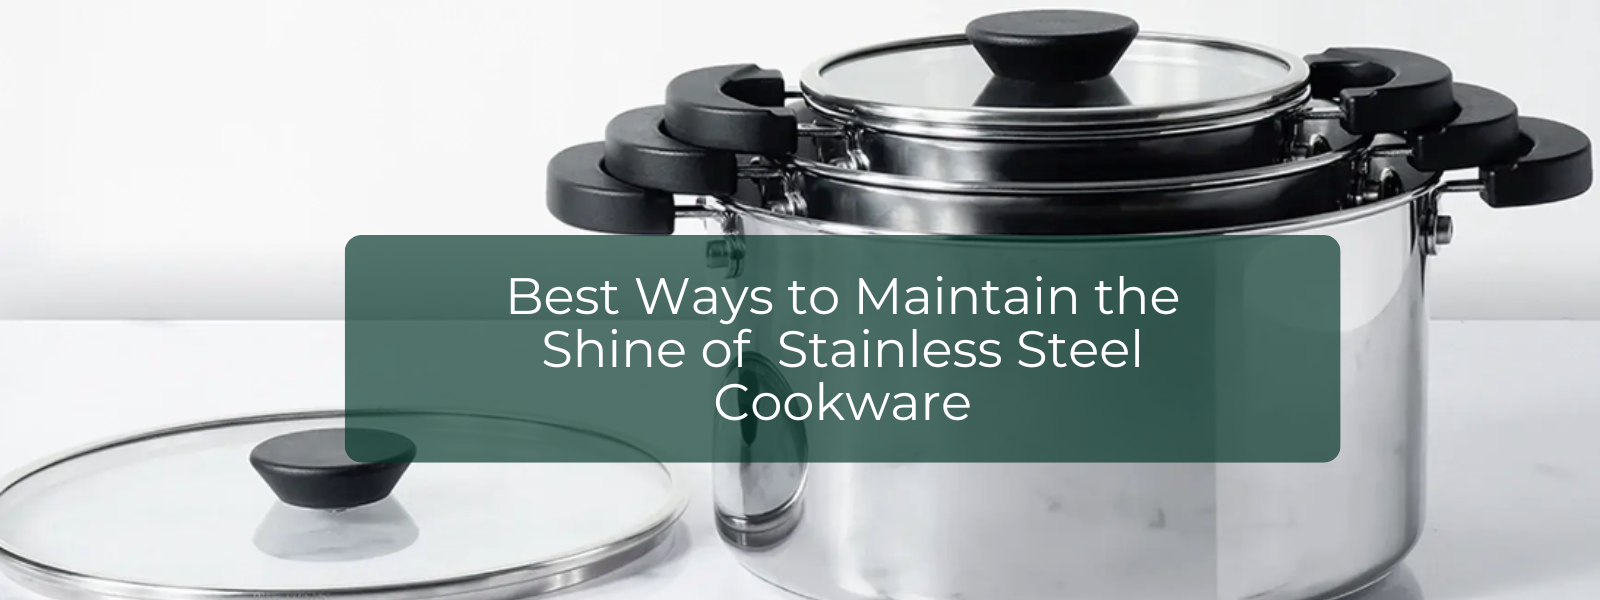
Best Ways to Maintain the Shine of Your Stainless Steel Cookware
2 Items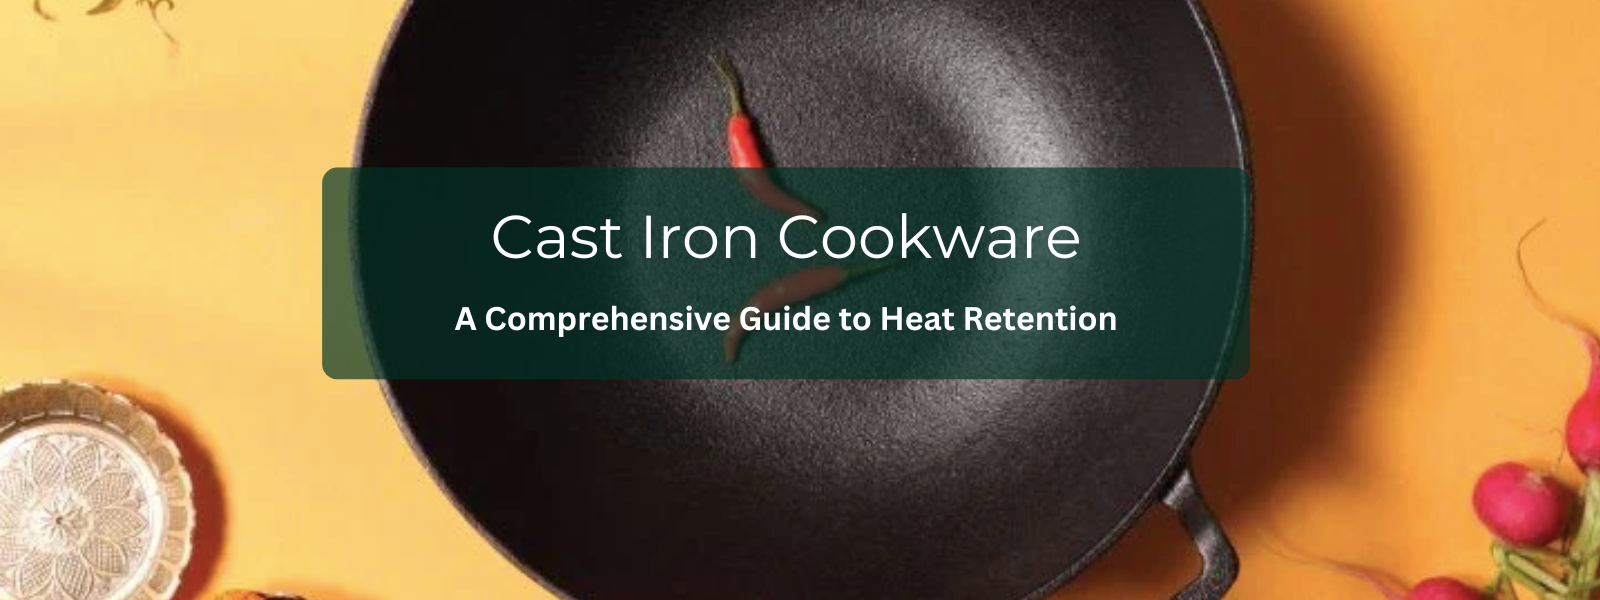
Cast Iron Cookware: A Comprehensive Guide to Heat Retention
2 Items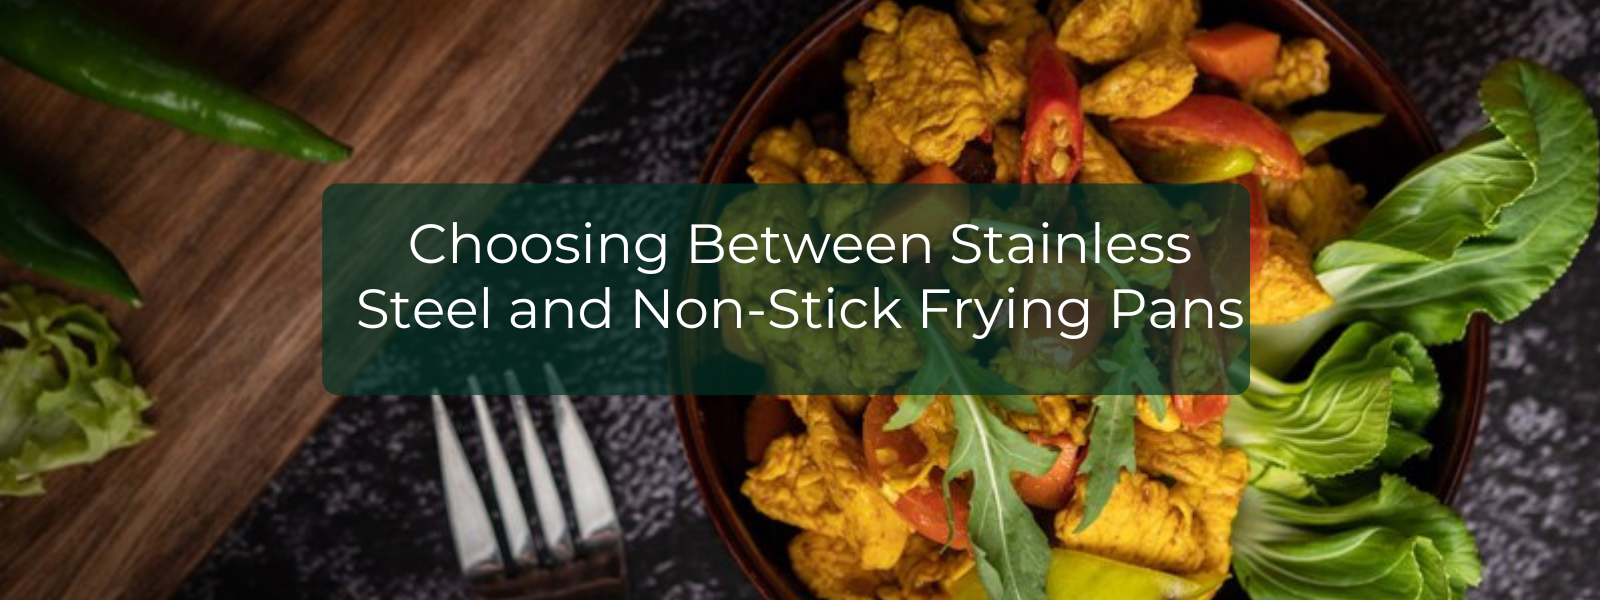
Choosing Between Stainless Steel and Non-Stick Frying Pans
2 Items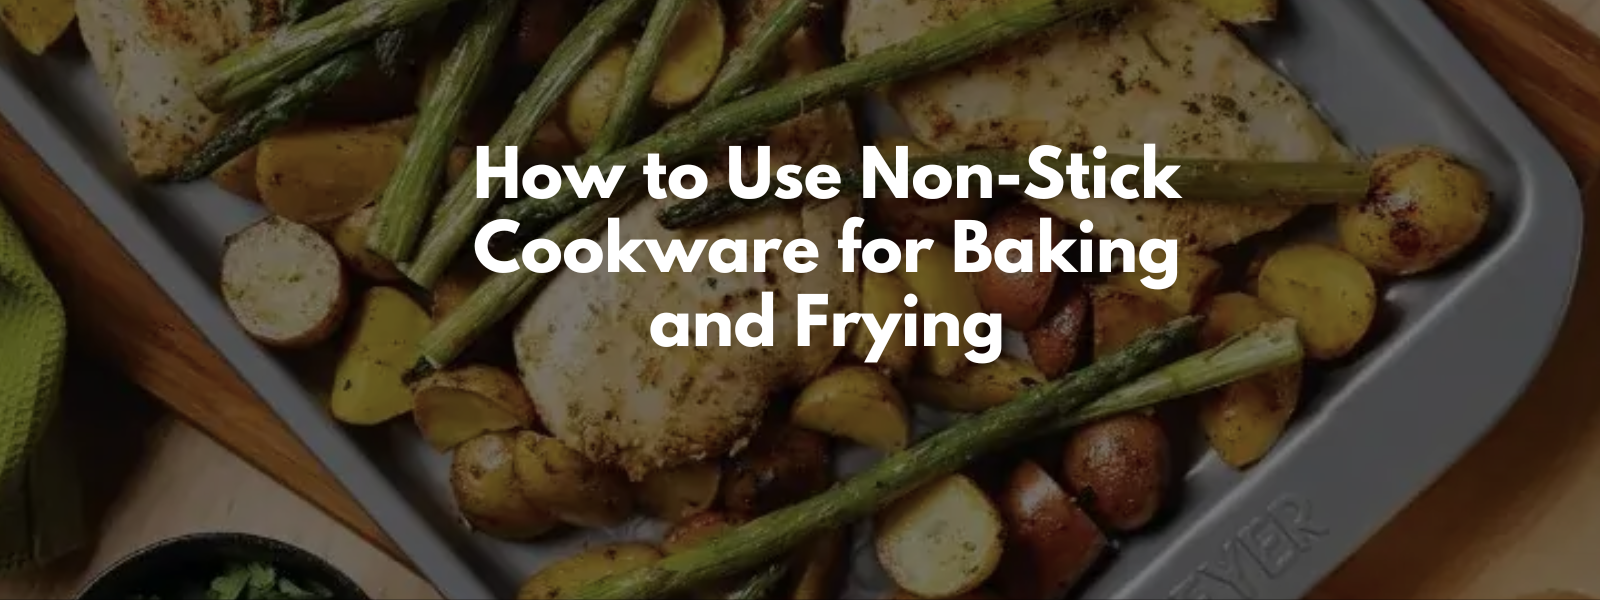
How to Use Non-Stick Cookware for Baking and Frying
2 Items
Stainless Steel vs. Cast Iron Cookware: What You Need to Know
2 Items
Why Non-Stick Pans are Perfect for Delicate Foods Like Fish and Eggs
2 Items


Leave a comment