


Making perfectly layered parathas at home can seem like a skill reserved for seasoned cooks. However, with the right technique and the right cookware, you can create restaurant-style flaky parathas in your own kitchen. One of the most essential tools for this is a cast iron tawa. Known for its ability to retain heat and deliver an even cook, a cast iron tawa like the Meyer Pre-Seasoned Cast Iron Roti/Chapati Tawa (26cm) offers the ideal surface for achieving that crispy, golden exterior and soft, layered interior.
Whether you're preparing a simple triangle paratha or a buttery lachha paratha, here's how to make the most of your cast iron tawa for unbeatable results.
Table of Contents
Why Use a Cast Iron Tawa for Layered Parathas?
Using a cast iron tawa for paratha preparation offers numerous benefits over non-stick or steel alternatives:
-
Superior heat retention and distribution for even cooking
-
Naturally non-stick surface when properly seasoned
-
Adds a rustic, traditional flavor and texture
-
Long-lasting durability that improves with use
-
Chemical-free and safe cooking surface
These advantages make it an excellent investment for home cooks who value quality and performance in their cookware.
Step-by-Step Guide to Making Layered Parathas on Cast Iron
1. Prepare Soft, Well-Rested Dough
Start by mixing whole wheat flour with water and a little oil or ghee. Knead into a soft, smooth dough and let it rest for at least 20 to 30 minutes. Resting helps in gluten development, making the dough easier to roll and shape.
2. Shape and Layer the Parathas
There are various techniques to add layers to your paratha:
-
Triangle method: Roll out the dough into a circle, fold into a semicircle, then into a triangle.
-
Lachha method: Roll into a long strip, brush with ghee or oil, pleat, coil, and flatten.
These techniques create beautiful flaky layers once cooked.
3. Preheat Your Cast Iron Tawa
Place your Meyer Cast Iron Tawa over medium heat and allow it to preheat for 4–5 minutes. The surface should be hot enough that a few drops of water evaporate instantly.
Proper preheating ensures that your paratha begins cooking immediately upon contact, sealing the layers.
4. Cook the Paratha on the Tawa
Place your layered paratha gently onto the hot tawa. Let it cook undisturbed for 20–30 seconds before flipping.
Apply a small amount of ghee or oil on the exposed side, flip again, and apply ghee to the other side.
5. Press and Cook for Even Browning
Use a spatula to press gently along the edges and center. This helps cook the layers evenly and encourages slight puffing. Flip the paratha a few more times until both sides are crisp, golden, and perfectly layered.
Care Tips for Your Meyer Cast Iron Tawa
To keep your cast iron roti tawa in top condition:
-
Allow it to cool before washing
-
Avoid using soap; rinse with hot water and scrub gently
-
Dry completely and apply a light coating of oil
-
Store in a dry place to avoid rusting
These steps will maintain the seasoning and ensure long-term performance.
Why the Meyer Pre-Seasoned Cast Iron Tawa is Perfect for Parathas
The Meyer Pre-Seasoned Cast Iron Roti/Chapati Tawa (26cm) is specifically designed for Indian flatbreads like chapatis and parathas. Its large cooking surface and balanced weight make it easy to use, while the pre-seasoned surface ensures minimal sticking and even browning.
With no synthetic coatings or harmful chemicals, it offers a safe and traditional way to cook everyday Indian meals.
Conclusion
Cooking deliciously layered parathas doesn’t require a complicated recipe — it requires the right technique and a dependable cooking surface. A cast iron tawa, especially the Meyer Pre-Seasoned 26cm Tawa, provides the ideal foundation for making authentic, flaky parathas at home. Its excellent heat distribution, long-lasting performance, and natural non-stick properties make it a must-have tool in any Indian kitchen. Whether it’s a weekend brunch or a weekday dinner, this tawa helps you serve parathas that are layered, crispy, and full of flavor.
MORE FROM BLOG
Top Collections

How to Use a Cast Iron Tawa for Cooking Crispy Dosas and Uttapams
2 Items
How to Use a Cast Iron Tawa for Cooking Healthy Ragi and Jowar Rotis
2 Items
How to Use a Cast Iron Tawa for Making Soft and Fluffy Chapatis
2 Items
Which Cast Iron Kadai Is Good for Cooking Veg Kolhapuri?
2 Items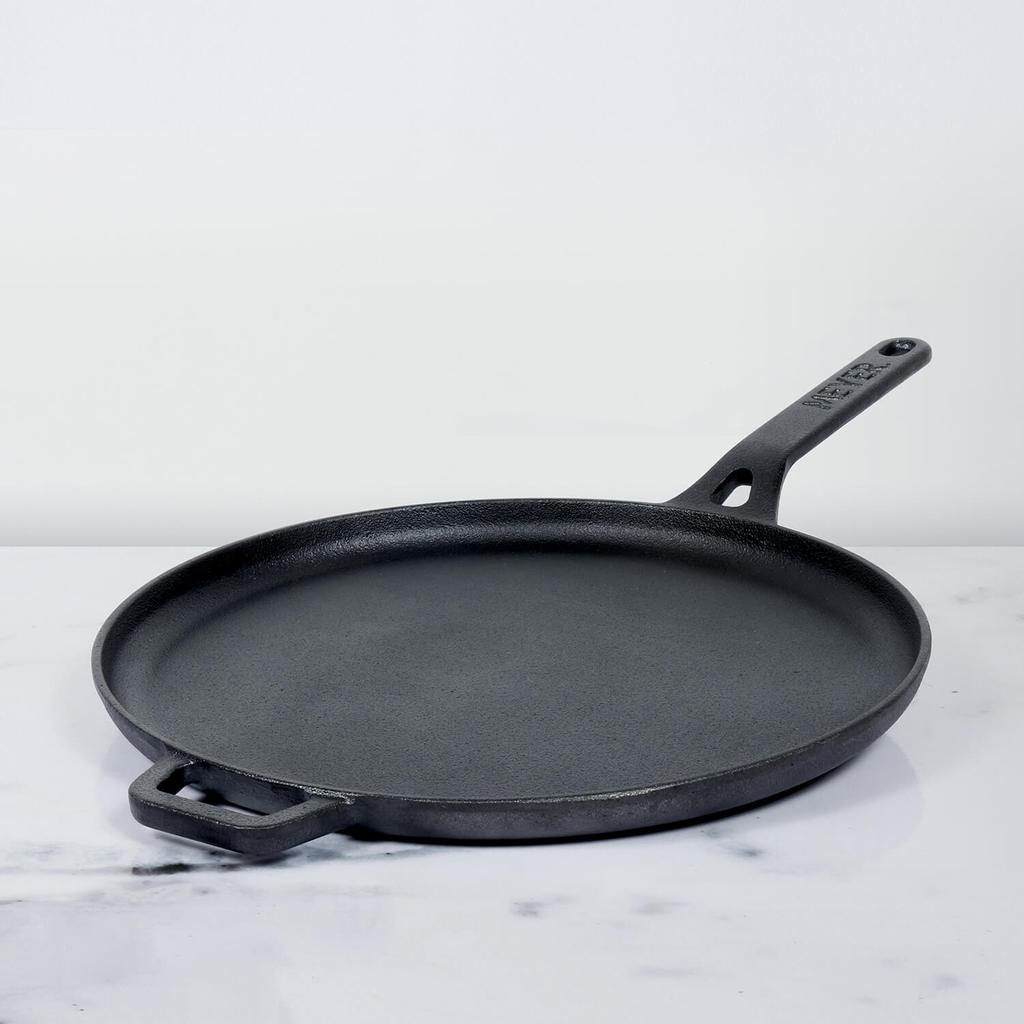


Leave a comment