


There’s something deeply satisfying about a perfectly made dosa—thin, crisp, golden-brown, and evenly cooked with just the right balance of texture and flavour. It’s a staple in Indian kitchens, yet achieving that restaurant-style crispness at home often feels challenging. Many home cooks struggle with dosas sticking, turning soggy, or not spreading evenly.
The secret, however, lies not just in the batter but significantly in the cookware and technique. A cast iron tawa, when used correctly, can transform your dosa-making experience. It offers unmatched heat retention and the ability to create that signature crisp texture that other cookware often fails to deliver.
Table of Contents
Why a Cast Iron Tawa Makes All the Difference
Cast iron is uniquely suited for dosa-making because of its ability to hold and distribute heat evenly across the surface. Unlike lighter pans that heat up quickly and cool down just as fast, cast iron maintains a stable temperature. This stability ensures that the dosa cooks uniformly, without undercooked patches or burnt spots.
Another important advantage is the natural non-stick surface that develops over time. When properly seasoned, a cast iron tawa builds a thin layer of polymerised oil that prevents sticking and enhances cooking performance. This natural layer improves with every use, making your dosas smoother and easier to handle over time.
Additionally, cast iron allows for better browning and crisping, giving dosas their characteristic golden colour and crunchy edges. It also supports chemical-free cooking, which makes it a preferred choice for many health-conscious households. High-quality cookware from brands like Meyer is designed with optimal thickness and smooth finishing, ensuring consistent results and ease of use.
Step 1: Seasoning the Tawa – The Foundation of Perfect Dosas
If your dosa sticks or tears, the root cause is often improper seasoning. Seasoning is not just a one-time process—it is the base that determines how well your tawa performs.
Start by washing and thoroughly drying the tawa. Apply a thin, even layer of oil across the surface and heat it until it begins to smoke lightly. Turn off the heat and allow it to cool naturally. Repeat this process a few times to build a strong base layer.
This seasoning creates a protective coating that prevents sticking and enhances the cooking surface. Over time, with regular use and proper care, the tawa becomes increasingly non-stick and efficient.
Step 2: Getting the Batter Consistency Right
Even with the best cookware, dosa quality depends heavily on the batter. The ideal batter should be smooth, well-fermented, and slightly thick yet pourable.
A properly fermented batter has a mild tangy aroma and a light, airy texture. If the batter is too thick, it becomes difficult to spread evenly, leading to thick and uneven dosas. On the other hand, if it is too thin, it will not hold structure and will fail to crisp properly.
Consistency is key. The batter should glide easily on the tawa while still maintaining enough body to form a thin, even layer.
Step 3: Mastering Heat Control
Heat is one of the most critical factors in making a perfect dosa. Too much heat will cause the batter to cook instantly, making it impossible to spread. Too little heat will result in sticking and lack of crispiness.
Begin by heating the tawa on medium heat. To check if it’s ready, sprinkle a few drops of water on the surface. If the water sizzles gently and evaporates within a few seconds, the temperature is ideal. If it disappears instantly, the pan is too hot. If it sits without reacting, the pan needs more heat.
Once the tawa reaches the right temperature, maintain it consistently. Cast iron retains heat for longer, so slight adjustments in flame can make a significant difference.
Step 4: Preparing the Surface Before Each Dosa
Before pouring the batter, it’s important to prepare the surface properly. Lightly grease the tawa with a few drops of oil and spread it evenly using a cloth or even half an onion.
This step helps maintain the non-stick surface and ensures that the batter spreads smoothly without sticking. It also adds a subtle flavour that enhances the overall taste of the dosa.
Step 5: Pouring and Spreading the Batter
Pour a ladleful of batter at the center of the tawa. Using the back of the ladle, spread it outward in a circular motion. The movement should be gentle yet swift, ensuring even thickness across the dosa.
Avoid pressing too hard, as this can disrupt the batter layer and create uneven textures. The key is to maintain a steady hand and consistent motion.
As you practice, you will develop a rhythm that allows you to spread the batter effortlessly and evenly every time.
Step 6: Using Oil for Crispness
Once the batter is spread, drizzle a small amount of oil around the edges and lightly over the surface. This helps in achieving a crisp texture and prevents sticking.
Oil also aids in even cooking and enhances the flavour of the dosa. However, it’s important to use it in moderation to avoid greasiness.
Step 7: Allowing the Dosa to Cook Naturally
One of the most common mistakes is trying to flip or lift the dosa too early. When the dosa is cooking, it initially sticks to the surface. As it cooks and develops a crust, it naturally releases.
Allow it to cook undisturbed until the edges begin to lift and the surface turns golden brown. This indicates that the dosa is ready.
Patience at this stage is crucial for achieving the perfect texture.
Step 8: Managing Heat Between Dosas
After each dosa, the tawa may become too hot due to heat retention. This can affect the next dosa by making the batter difficult to spread.
To maintain the right temperature, reduce the heat slightly and allow the tawa to cool for a few seconds. You can also sprinkle a few drops of water and wipe the surface before pouring the next dosa.
This helps maintain consistency across multiple dosas.

Common Problems and How to Fix Them
If your dosa sticks, it usually indicates poor seasoning or insufficient heat. Re-seasoning the tawa and ensuring proper preheating can resolve this issue.
If the dosa is not crisp, the batter may be too thick or the heat too low. Adjusting these factors can significantly improve the outcome.
If the batter doesn’t spread easily, the tawa is likely too hot. Allow it to cool slightly before the next attempt.
Cleaning and Maintaining Your Cast Iron Tawa
Proper care is essential for long-term performance. After cooking, clean the tawa with warm water and a soft scrubber. Avoid using harsh detergents frequently, as they can strip away the seasoning.
Dry the tawa immediately after washing to prevent rusting. Applying a thin layer of oil before storing helps maintain the seasoning and keeps the surface ready for the next use.
With consistent care, your tawa will only get better with time.
Final Thoughts
Achieving the perfect dosa on a cast iron tawa is a skill that develops with understanding and practice. It is not about complicated techniques, but about mastering the fundamentals—heat control, batter consistency, and surface preparation.
In the beginning, there may be a learning curve. Your dosas might stick, tear, or lack the desired crispness. This is completely normal. Each attempt teaches you something about how the tawa behaves, how the batter reacts, and how small changes can improve the result.
Over time, as your tawa builds better seasoning and you gain confidence in your technique, the process becomes seamless. You begin to anticipate the right temperature, spread the batter effortlessly, and achieve consistent results without second-guessing.
What makes cast iron truly special is that it evolves with you. The more you use it, the better it performs. It rewards patience and consistency with superior cooking results that are difficult to replicate with other cookware.
With the right approach, a well-maintained cast iron tawa can help you create dosas that are crisp, flavourful, and beautifully golden—bringing the joy of authentic, restaurant-quality cooking right into your home kitchen.
MORE FROM BLOG
Top Collections
Cast Iron Cookware: Why It’s Perfect for Outdoor Cooking
2 Items
Cast Iron Griddle: Must-Have Cookware For Grilling
2 Items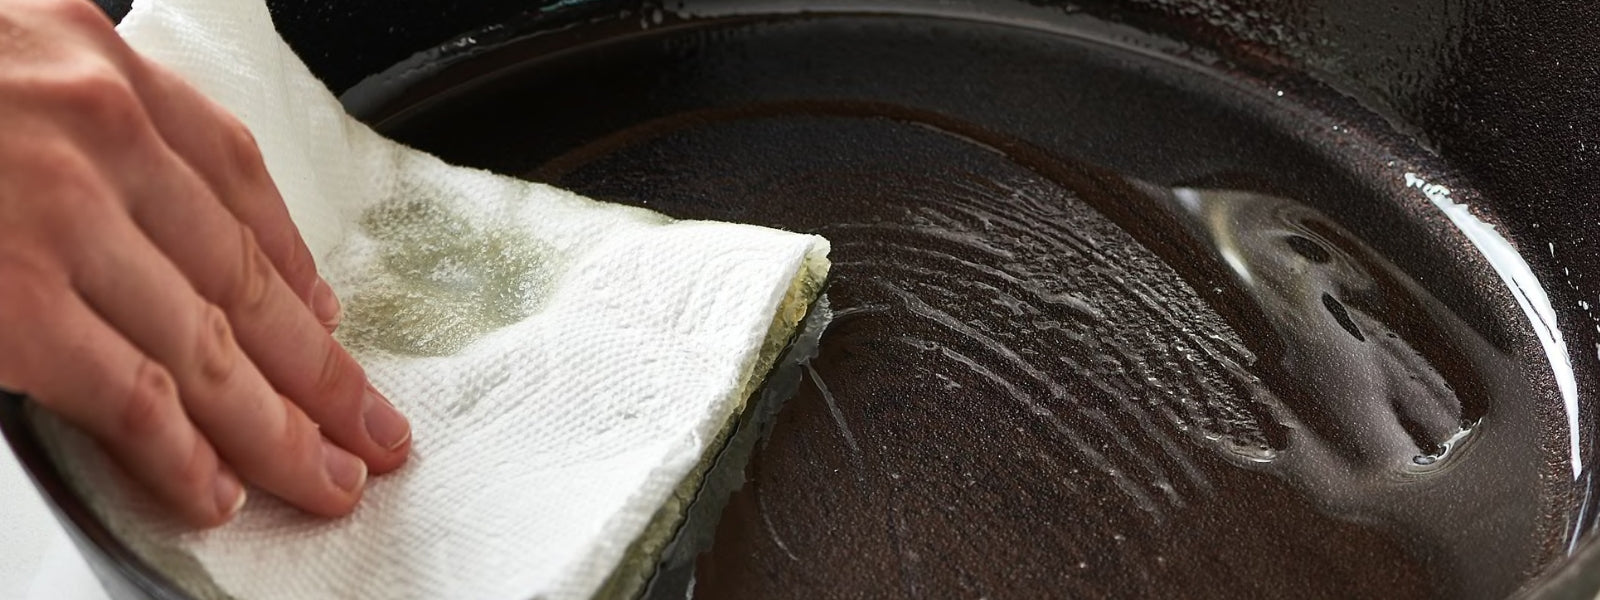
Cast Iron Skillet Seasoning Guide | Various ways for cast iron skillet seasoning
2 Items
Cast Iron Tawa Benefits
2 Items
Cast Iron Vs Stainless Steel: Which Is Right For You?
2 Items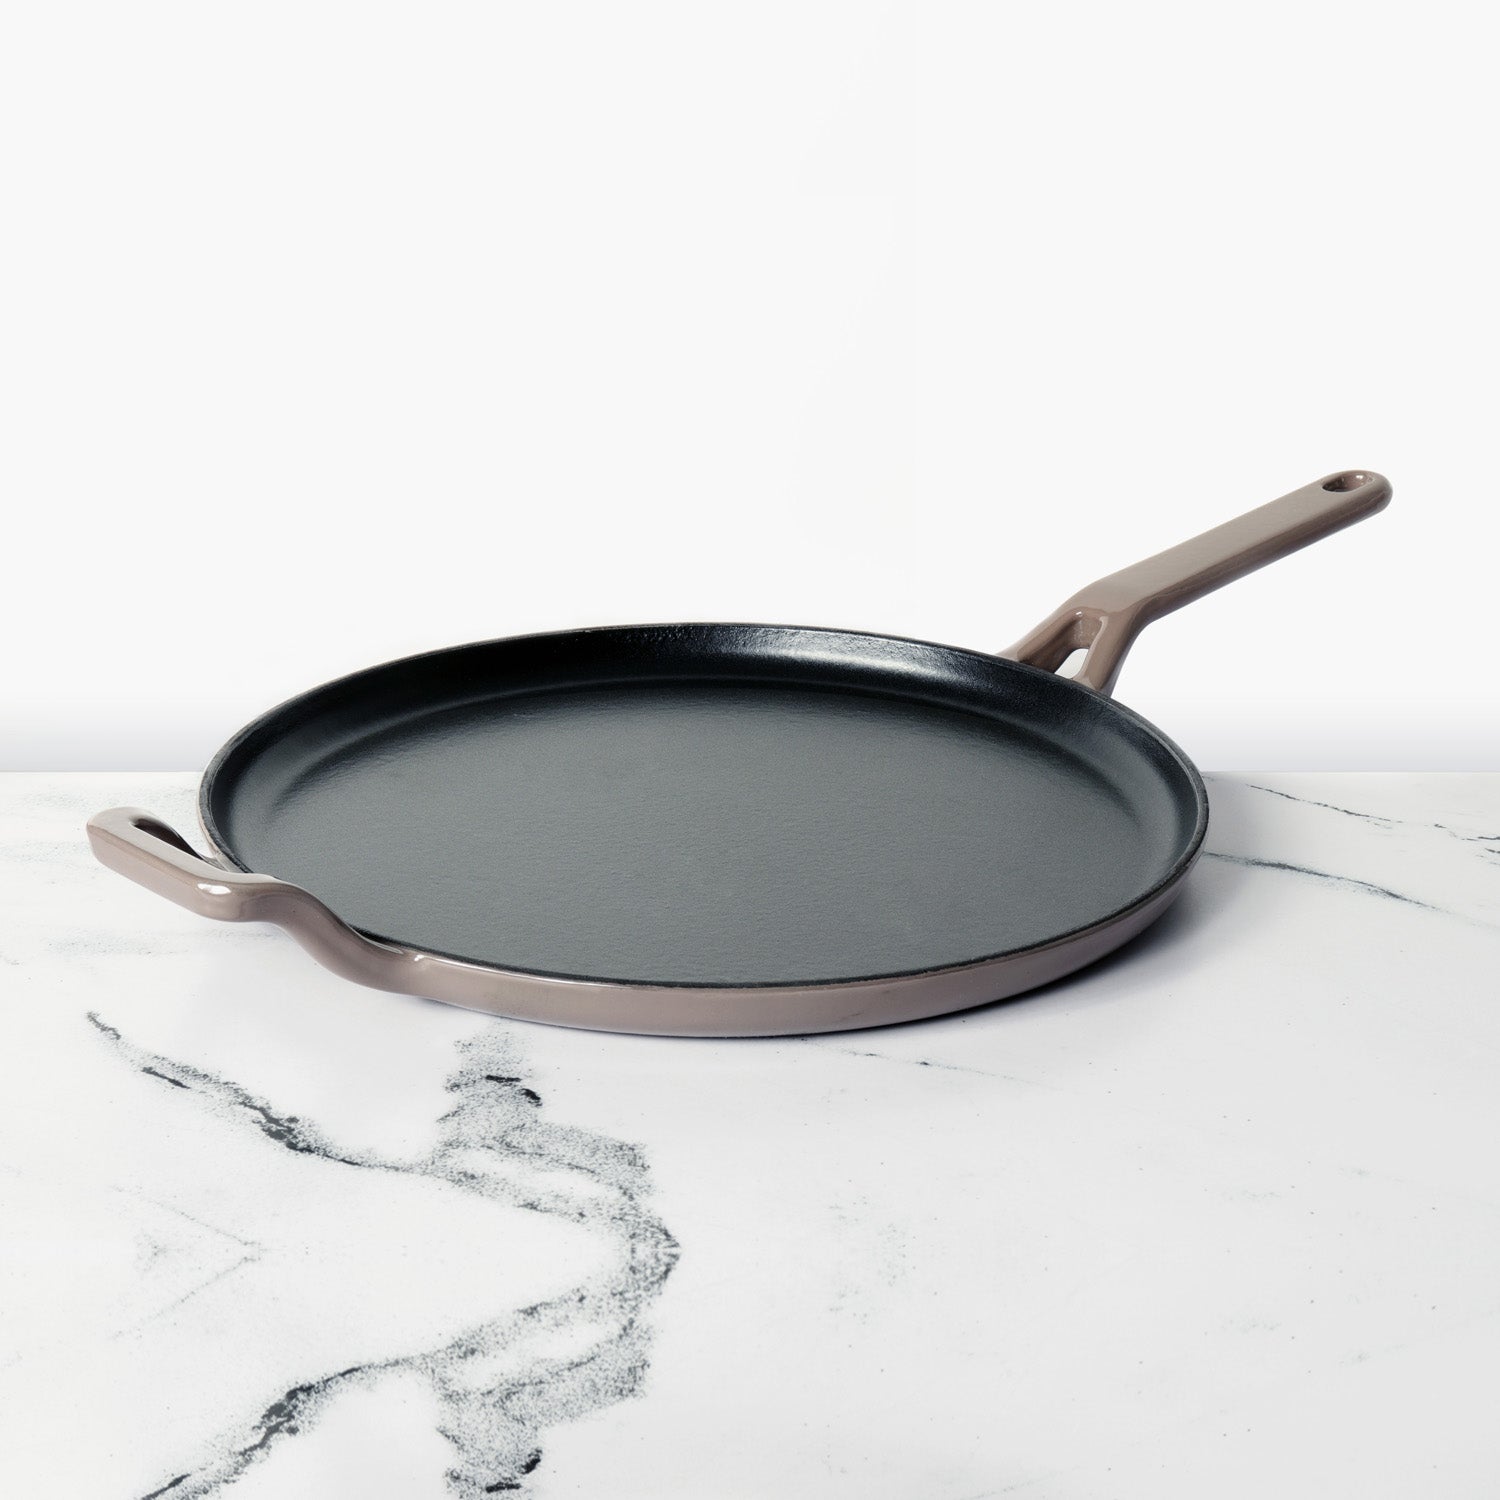


Leave a comment