


If there's one street food that defines the heart and soul of Mumbai, it's Pav Bhaji—a buttery, spicy, and flavor-packed medley of mashed vegetables served with soft, toasted buns. But what if we told you that the secret to recreating that authentic street-side flavor at home isn't just in the spice mix, but in the cookware you use? Enter the cast iron tawa—a time-tested kitchen essential that elevates your Pav Bhaji game to the next level. In this blog, we’ll guide you through how to use a cast iron tawa to cook Mumbai-style Pav Bhaji that tastes just like your favorite stall at Juhu Beach.
Table of Contents
Why Choose a Cast Iron Tawa for Pav Bhaji?
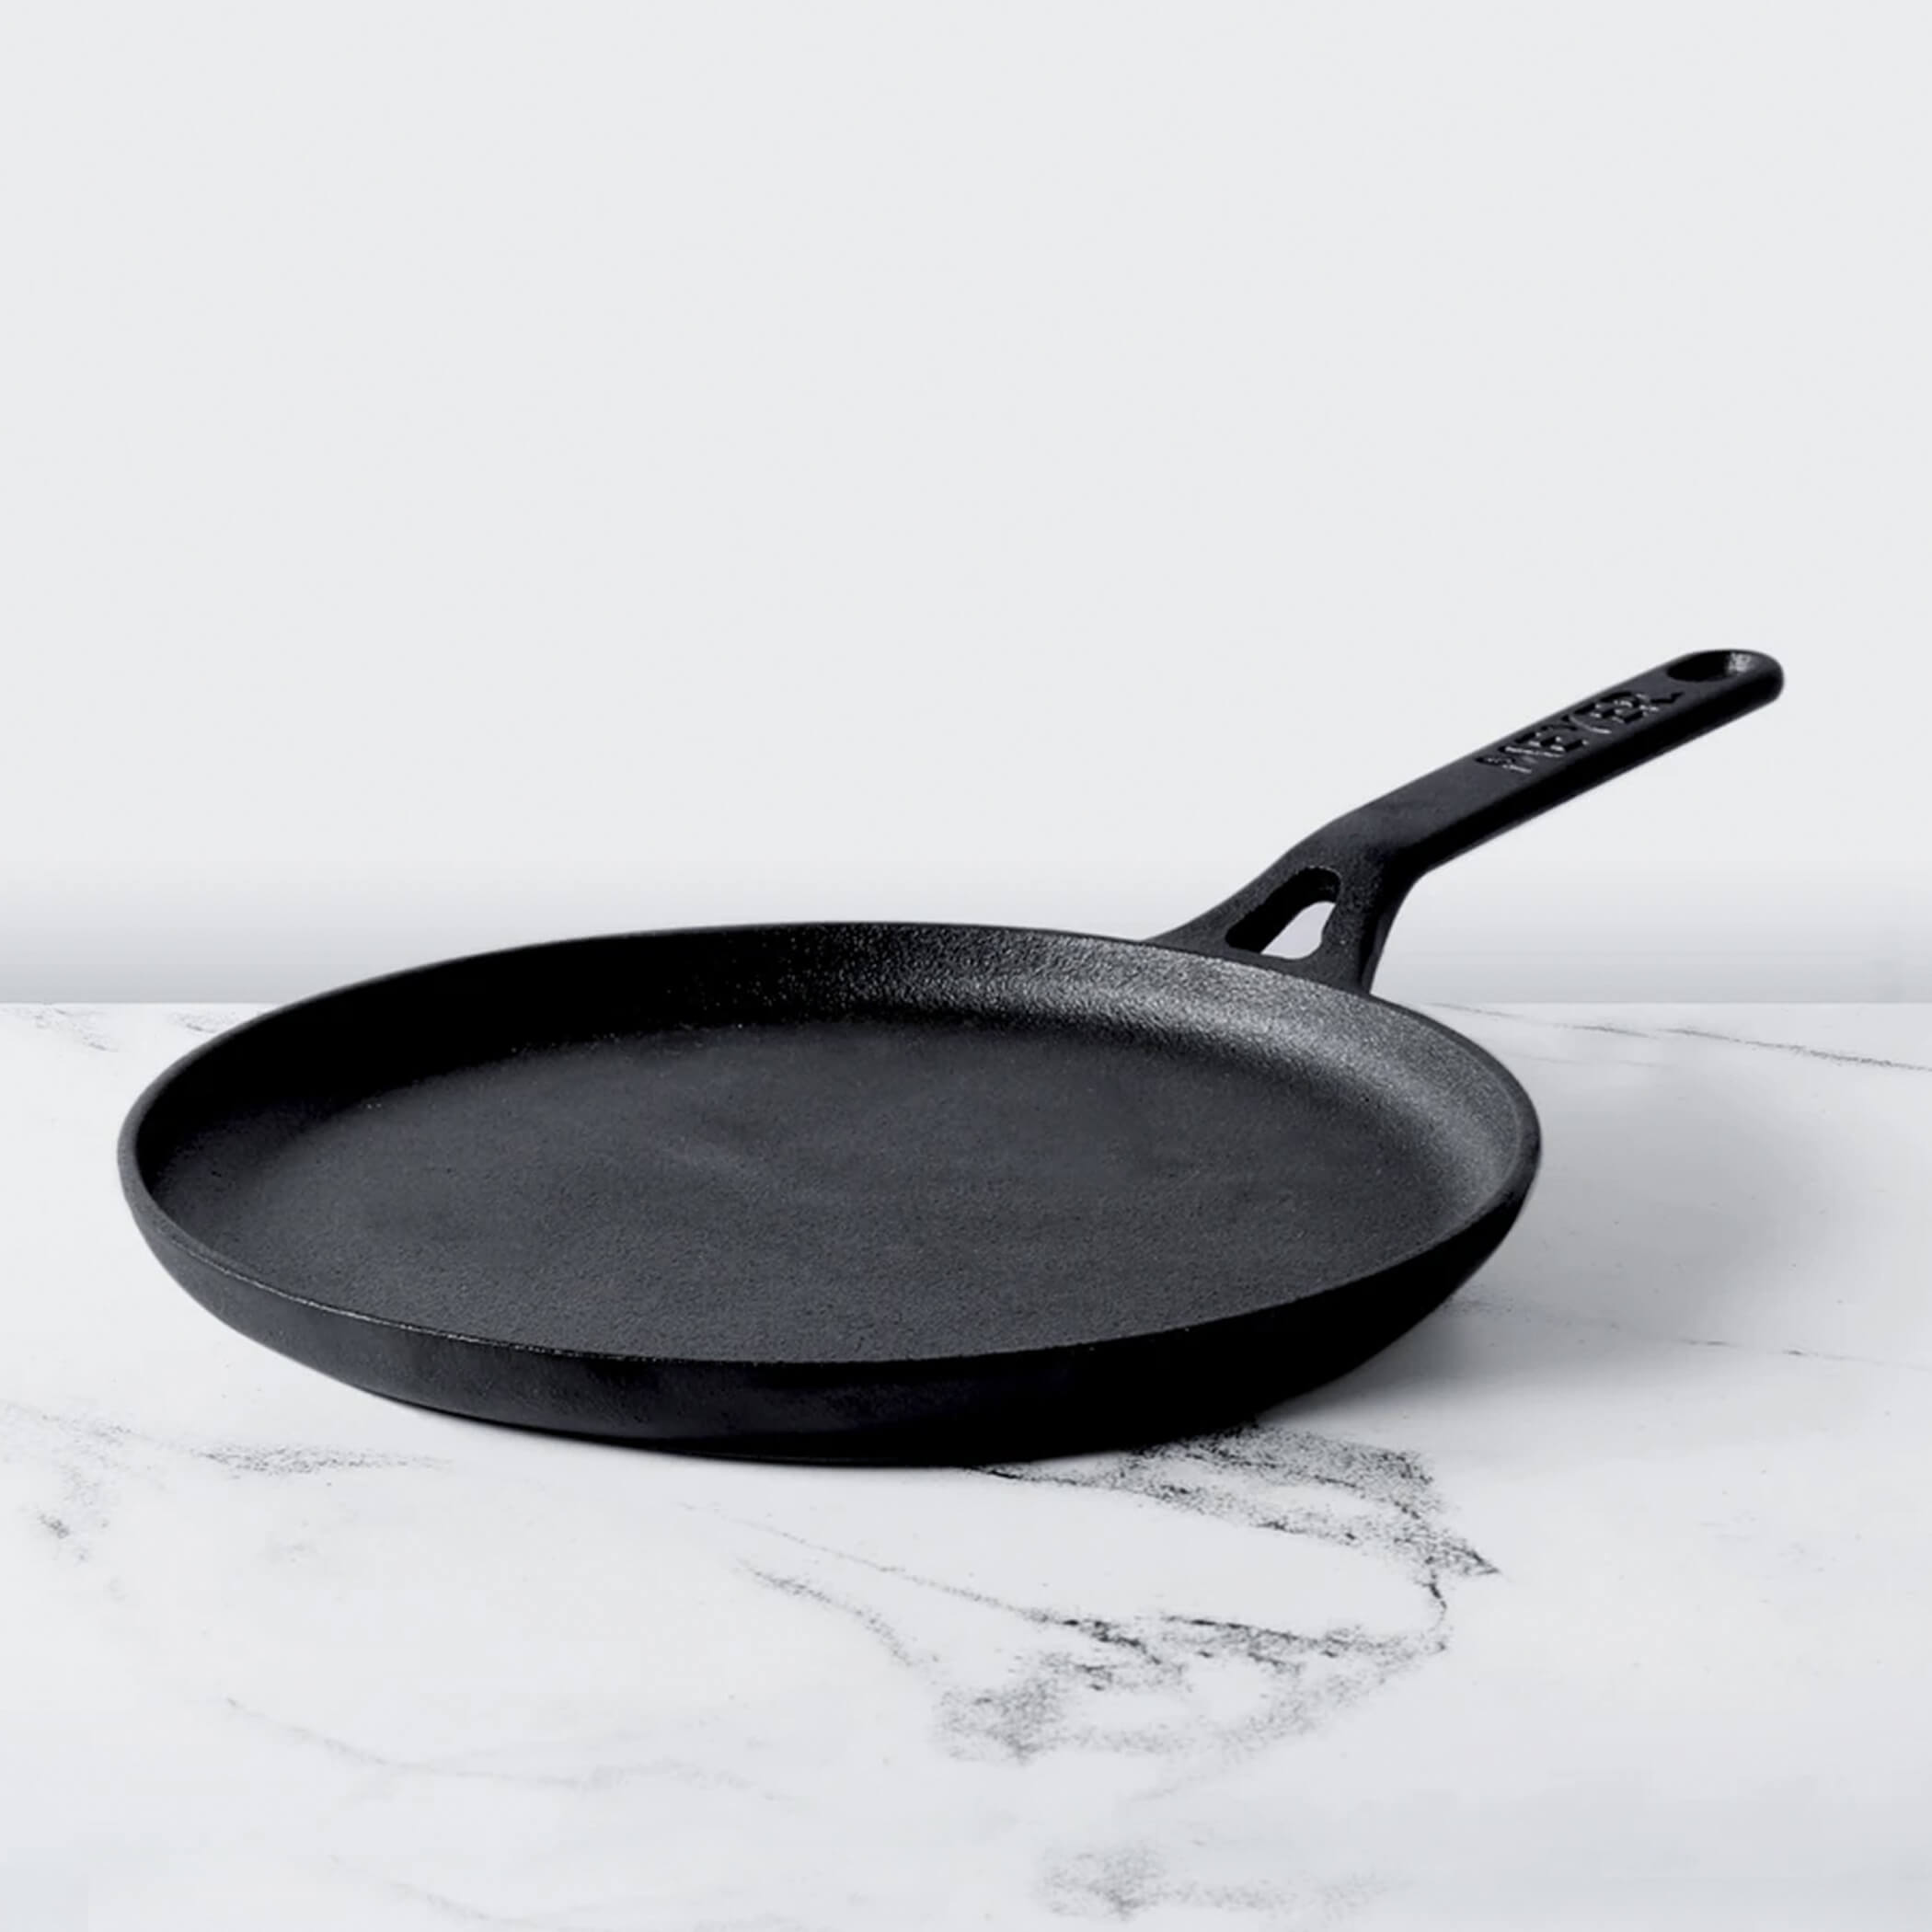
Pav Bhaji is traditionally made on large, heavy iron tawas by street vendors, which is exactly what gives the dish its rich, smoky, and deeply caramelized flavor. Replicating that at home is possible when you use a cast iron tawa—especially one with a flat, wide surface and excellent heat retention like the Meyer Pre-Seasoned Cast Iron Flat Dosa Tawa (28cm).
Here’s why it works:
- Superior heat retention: Cast iron holds high heat consistently, essential for perfectly mashing and sautéing vegetables.
- Even cooking surface: Helps in caramelizing onions, tomatoes, and spices without hot spots.
- Natural non-stick layer: With proper seasoning, the tawa offers a slick surface ideal for toasting pav and cooking bhaji.
- Adds a depth of flavor: Over time, a cast iron tawa develops a seasoning that adds complexity to any dish.
Ingredients You’ll Need
For the Bhaji:
-
2 large potatoes (boiled and mashed)
-
1 cup cauliflower florets (boiled)
-
1 cup green peas (boiled)
-
1 large onion (finely chopped)
-
2 tomatoes (finely chopped)
-
1 green bell pepper (chopped)
-
2 tablespoons Pav Bhaji masala
-
1 teaspoon red chilli powder
-
Salt to taste
-
Butter (don’t be shy!)
-
Fresh coriander and lemon juice
For the Pav:
-
4 pav buns
-
Butter
-
A pinch of Pav Bhaji masala
Step-by-Step Guide to Cooking Pav Bhaji on a Cast Iron Tawa
1. Preheat and Season Your Cast Iron Tawa
Start by placing your cast iron tawa on medium flame and allow it to preheat for about 2–3 minutes. Add a generous dollop of butter or ghee to the surface. This not only prevents sticking but also enhances the overall flavor of the dish.
2. Cook the Base Flavors
Add chopped onions and sauté until golden. Then mix in tomatoes and capsicum, cooking until the tomatoes break down and release their juices. This is where the magic begins—the cast iron tawa ensures everything cooks evenly, and the sugars in the onions and tomatoes begin to caramelize.
3. Spice it Up
Add Pav Bhaji masala, red chilli powder, and salt. Stir well to coat the base mixture. Add a bit more butter here if desired for a richer texture.
4. Mash the Veggies
Add the boiled potatoes, cauliflower, and peas to the tawa. Using a heavy spatula or potato masher, begin to mash the vegetables directly on the tawa. This allows the veggies to soak up the masala while browning slightly—thanks to the high heat retention of the cast iron.
5. Simmer and Adjust
Add a splash of water to adjust consistency and let the bhaji simmer for 5–7 minutes, stirring occasionally. The flat tawa allows you to keep everything spread out, helping in even cooking and mashing.
6. Toast the Pav
Move the bhaji to one side of the tawa or transfer it to a serving dish. On the same tawa, melt butter and toast the pav buns until golden and crispy. Sprinkle a pinch of Pav Bhaji masala for extra punch.
Pro Tips for Making Pav Bhaji on Cast Iron
-
Avoid metal spatulas while scraping the tawa to preserve its seasoning.
-
Don’t overcrowd the surface. A 28cm cast iron tawa is perfect for 3–4 servings.
-
Use a good amount of butter—it not only adds flavor but also helps create a non-stick cooking surface.
-
After cooking, clean with hot water and a soft brush. Avoid soap to maintain the seasoning layer.
Conclusion: Elevate Street Food with Cast Iron Magic
Bringing Mumbai’s iconic Pav Bhaji to your kitchen is easier than you think—and using a cast iron tawa is the best way to stay true to the original taste and texture. The Meyer Pre-Seasoned Cast Iron Flat Dosa Tawa is a versatile, durable choice that mimics the traditional bhaji-making setup with modern convenience. Not only does it improve with every use, but it also becomes a cherished companion in your street food experiments at home.
So go ahead—mash, toast, and serve up a Pav Bhaji experience that your tastebuds (and guests) will never forget!
MORE FROM BLOG
Top Collections

How to Use a Cast Iron Tawa for Making Authentic Tandoori Roti at Home
2 Items
How to Use a Cast Iron Tawa for Making Traditional Maharashtrian Thalipeeth
2 Items
How to Use a Cast Iron Tawa for Preparing Street-Style Tawa Sandwiches
2 Items
How to Use a Cast Iron Tawa for Street-Style Tawa Pulao
2 Items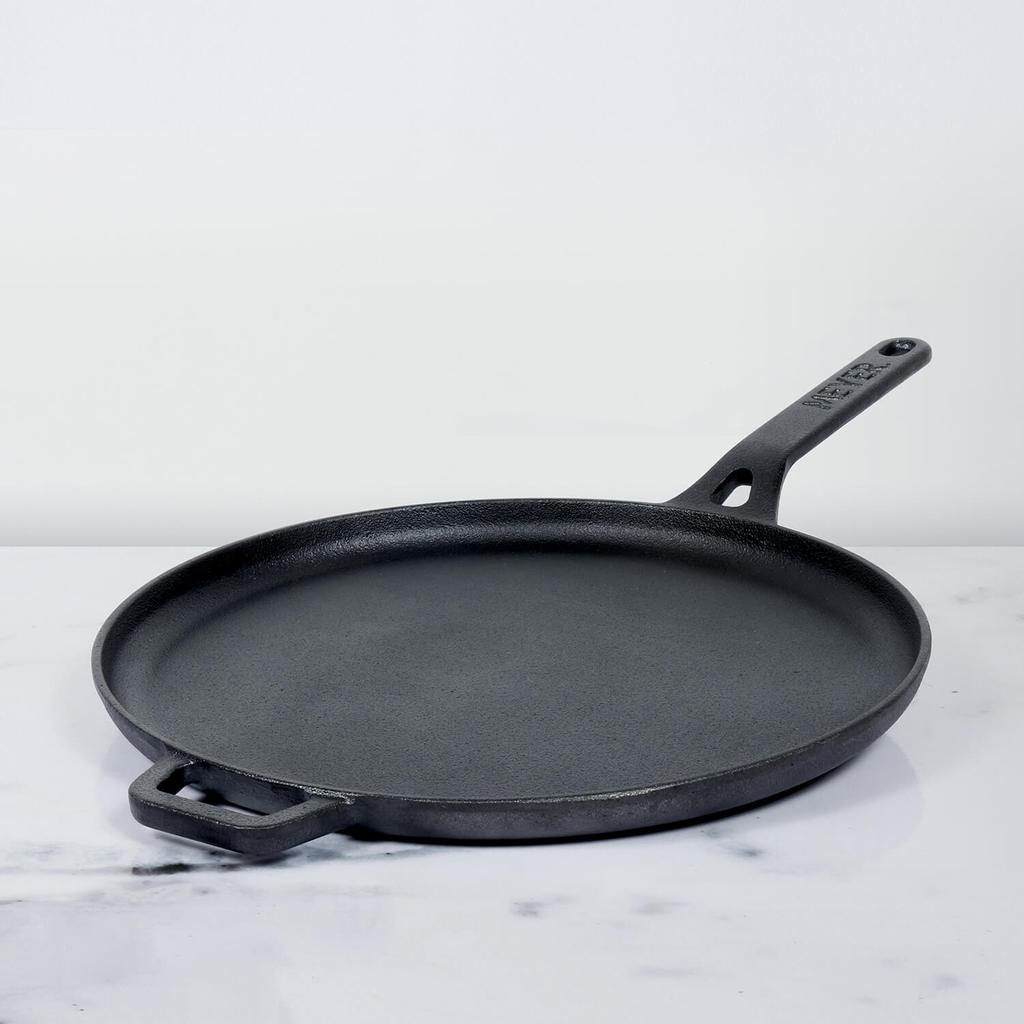


Leave a comment