

There’s something soul-soothing about a hot, golden-brown aloo paratha—crisp on the outside, stuffed with a spicy mashed potato filling inside, and finished off with a pat of butter or a dollop of curd. While the ingredients and stuffing matter, the choice of tawa plays a pivotal role in achieving the perfect crust, ideal browning, and even cooking. If you're aiming for dhaba-style stuffed parathas at home, a cast iron tawa is your best companion.
Let’s walk through how to use a cast iron tawa to make perfectly crispy and delicious stuffed aloo parathas right in your kitchen.
Table of Contents
Why Use a Cast Iron Tawa for Aloo Parathas?
A cast iron tawa delivers a superior cooking experience for stuffed parathas. Here's why:
- Even Heat Retention: Ensures the thick stuffed dough cooks uniformly without burning the outer layer.
- Perfect Browning: The heavy base helps get that signature golden-brown crust.
- Crispy Edges & Soft Center: You get the best of both worlds—flaky on the outside and soft inside.
- Non-Toxic Surface: Naturally seasoned cast iron is free from synthetic coatings, making it safe for high-heat cooking.
Best Cast Iron Tawa to Use
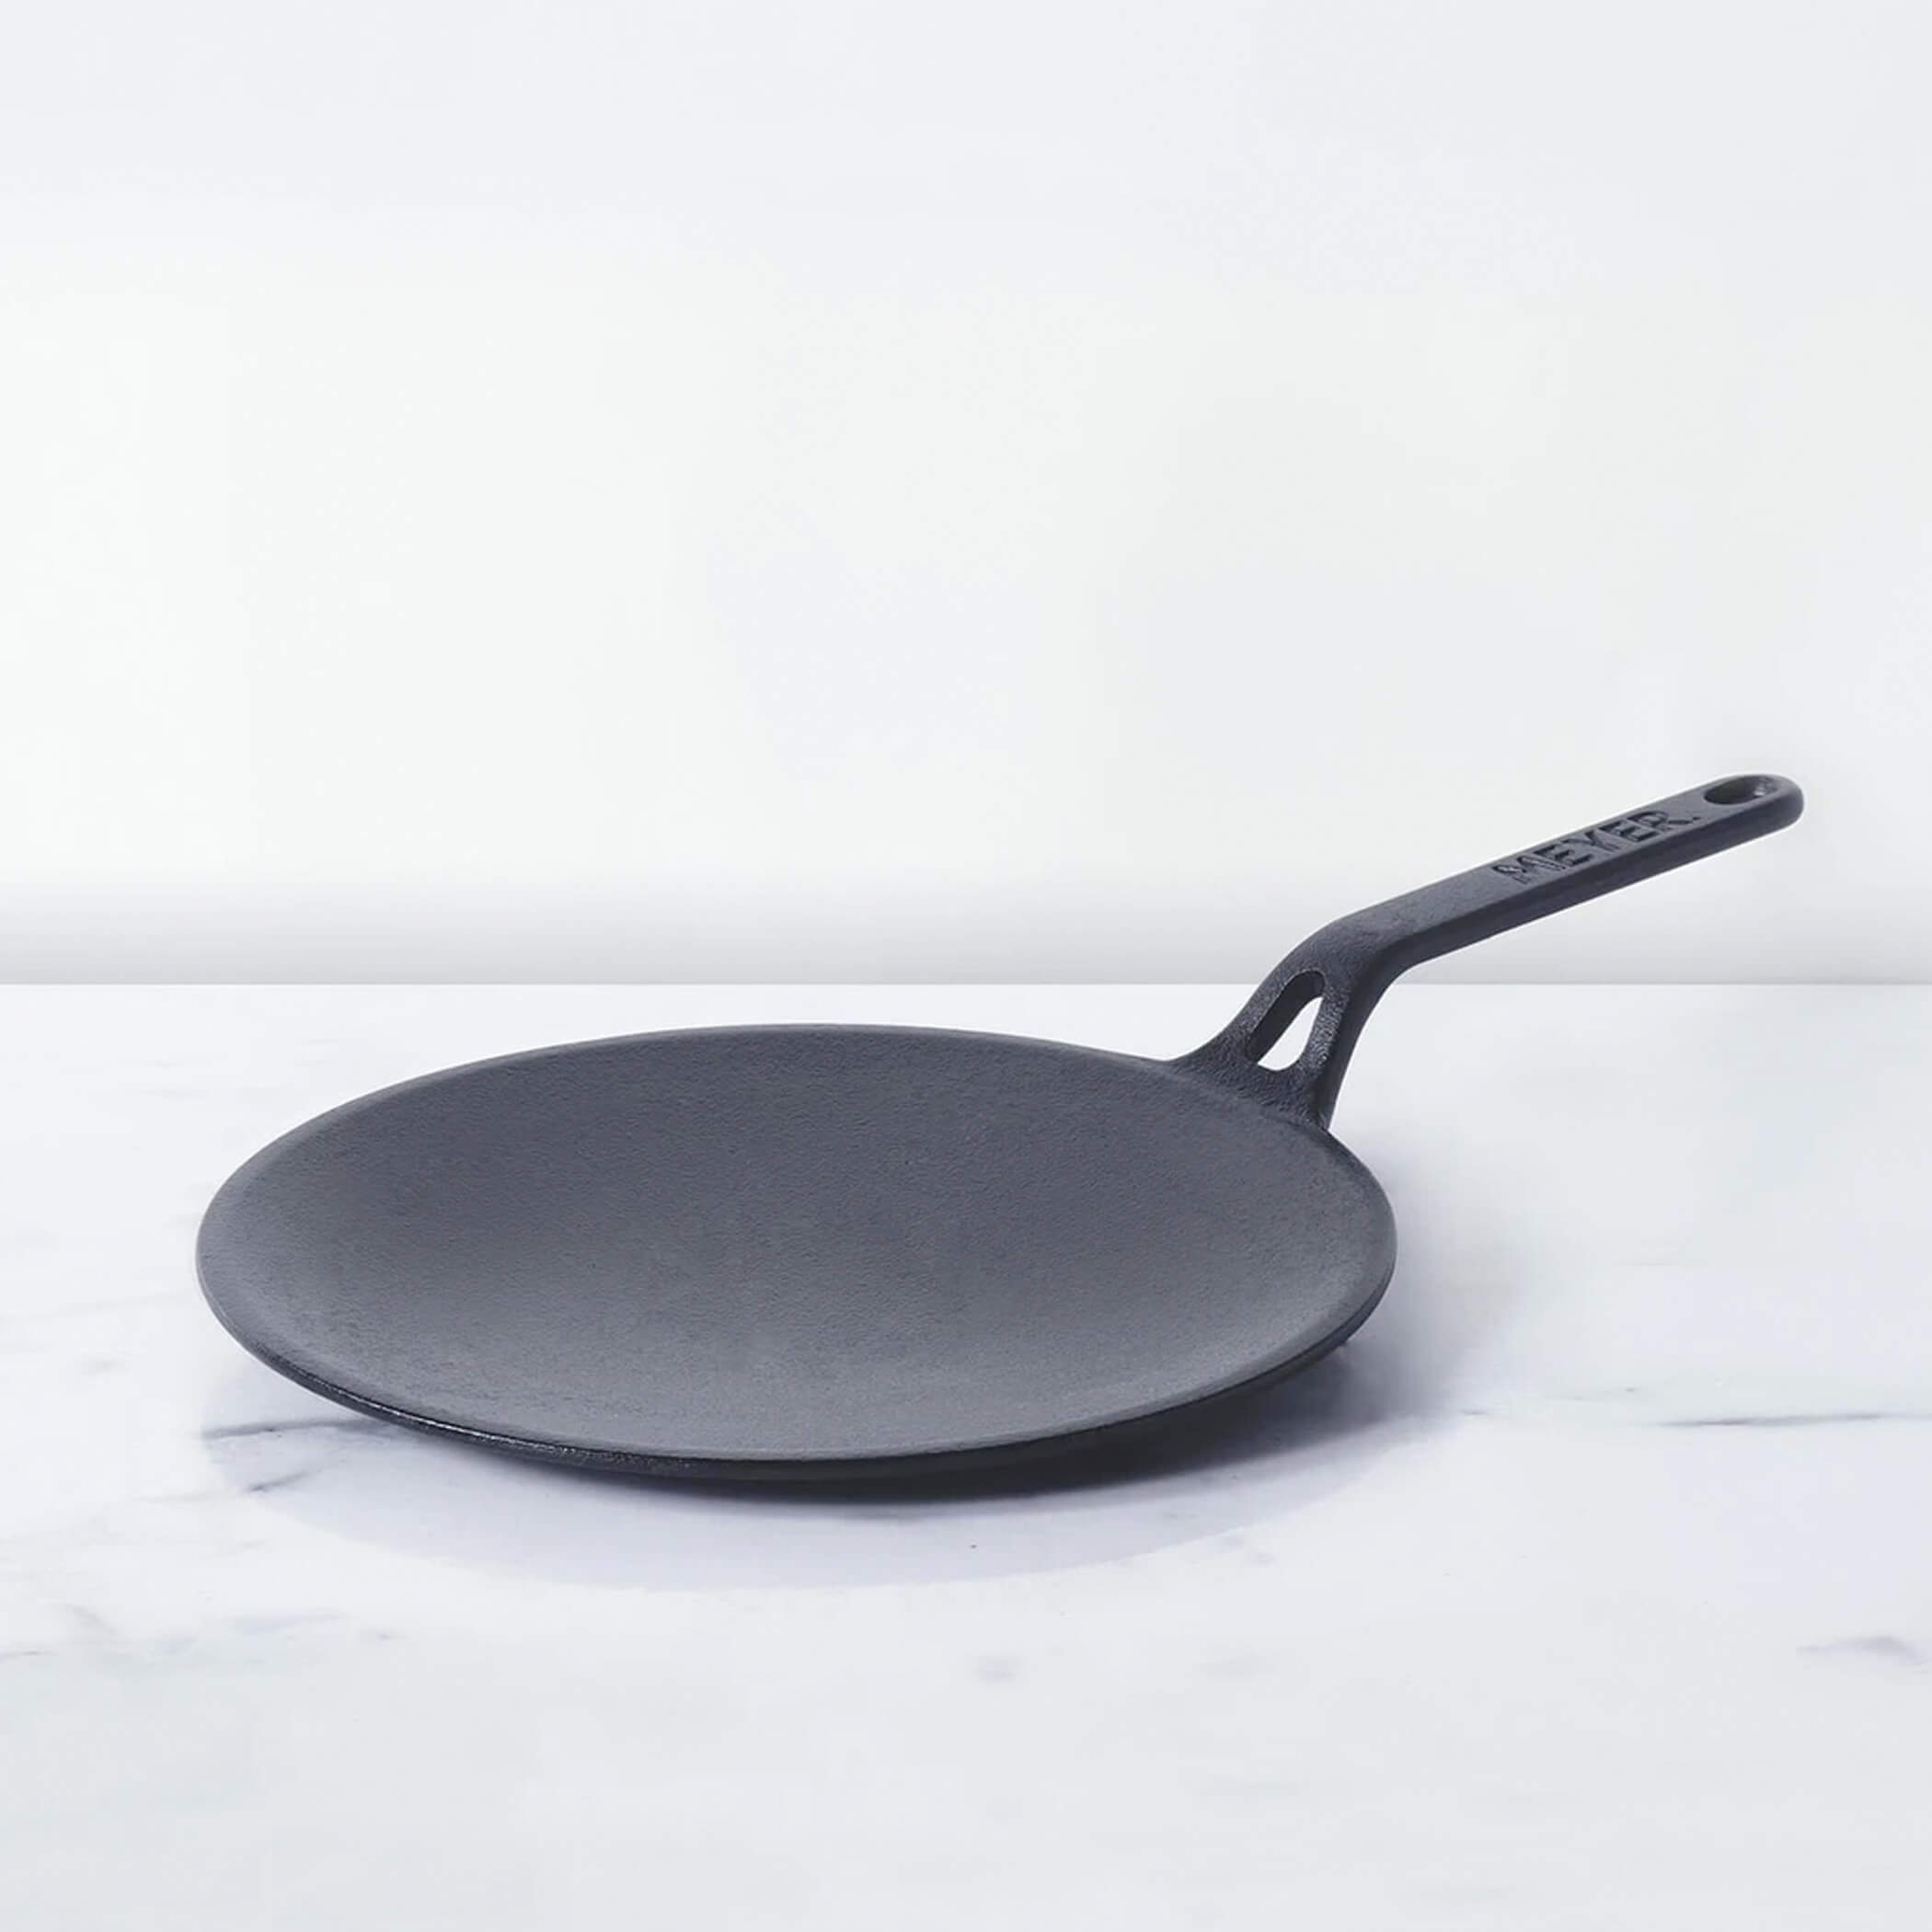
For stuffed parathas, a medium-sized flat cast iron tawa with sloped edges is ideal. A great choice would be the Meyer Pre-Seasoned Cast Iron Roti/Chapati Tawa, 26 cm—it’s heavy enough to handle stuffed flatbreads, distributes heat evenly, and is built to last generations.
Step-by-Step Guide to Making Aloo Parathas on a Cast Iron Tawa
1. Prepare the Dough
-
Use whole wheat flour and knead a soft, pliable dough with water, salt, and a dash of oil.
-
Let the dough rest for at least 30 minutes, covered with a damp cloth. This helps it become more elastic and easy to roll.
2. Make the Aloo Filling
- Boil, peel, and mash potatoes.
- Mix in finely chopped green chillies, coriander leaves, salt, amchur (dry mango powder), red chilli powder, jeera (cumin), and optional grated ginger or chopped onions.
- Ensure the mixture is dry and lump-free so it doesn’t break the dough during rolling.
3. Assemble the Paratha
- Divide the dough and potato filling into equal portions.
- Roll out a small disc, place the filling in the center, and gather the edges to form a ball.
- Gently flatten and roll again into a 6–7 inch circle, ensuring even thickness without tearing.
4. Preheat the Cast Iron Tawa
- Place the tawa over medium heat and allow it to heat thoroughly. A well-heated tawa prevents sticking and gives a good initial sear.
- Test by sprinkling a few drops of water. If they sizzle and evaporate quickly, the tawa is ready.
5. Cook the Paratha
- Place the rolled paratha on the hot tawa.
- Cook for 30–40 seconds until you see bubbles forming.
- Flip and apply a bit of ghee or oil on the upper side. Press gently with a spatula to ensure even cooking.
- Flip again, apply oil/ghee, and cook until both sides are golden brown and slightly crisp.
6. Serve Hot
- Remove from tawa and serve immediately with butter, curd, or pickle.
- Cast iron retains heat, so the paratha remains hot and crispy for longer.
Pro Tips for Best Results
- Avoid Low Heat: A low flame can dry out the paratha without giving a crisp crust.
- Never Overload Stuffing: Too much filling can make it difficult to roll and lead to breakage.
- Don’t Over-Grease: Cast iron holds heat well; too much oil can burn or sog the paratha.
- Keep a Consistent Flame: Medium to high flame is ideal—too high can burn, too low can dry out.
Post-Cooking Care for Cast Iron Tawa
After making parathas:
-
Let the tawa cool.
-
Wipe off excess oil and food particles with a paper towel.
-
Rinse with warm water and scrub gently (no soap).
-
Dry immediately and apply a light coat of oil before storing.
Maintaining the seasoning ensures non-stick performance and long life.
Conclusion: A Traditional Treat, the Right Way
Using a cast iron tawa to cook aloo parathas isn’t just about tradition—it’s about taste, texture, and technique. The intense heat, even browning, and rustic charm it brings can’t be matched by non-stick or steel pans. When paired with a high-quality tawa like the Meyer Pre-Seasoned Cast Iron Tawa, making aloo parathas at home becomes a flavorful, nostalgic experience.
Bring home the aroma of Punjabi kitchens and the joy of a hearty stuffed paratha—just the way it’s meant to be.
MORE FROM BLOG
Top Collections
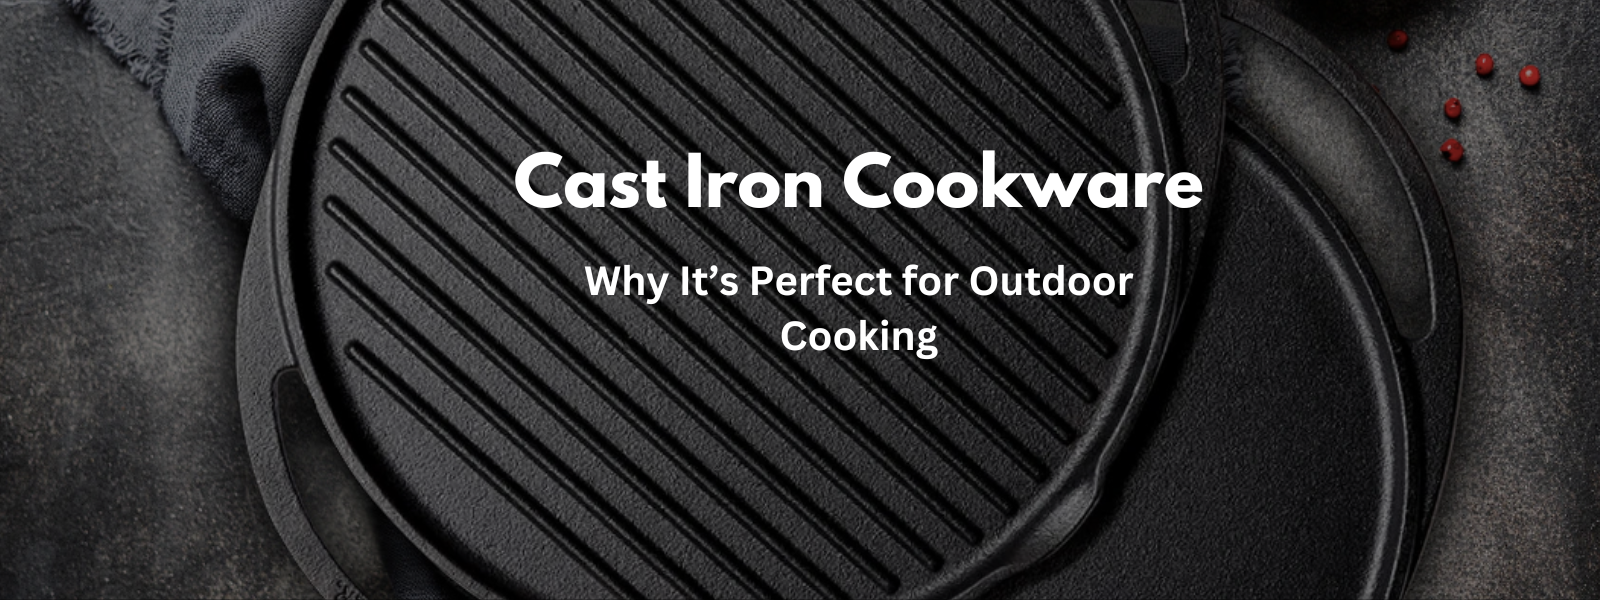
Cast Iron Cookware: Why It’s Perfect for Outdoor Cooking
2 Items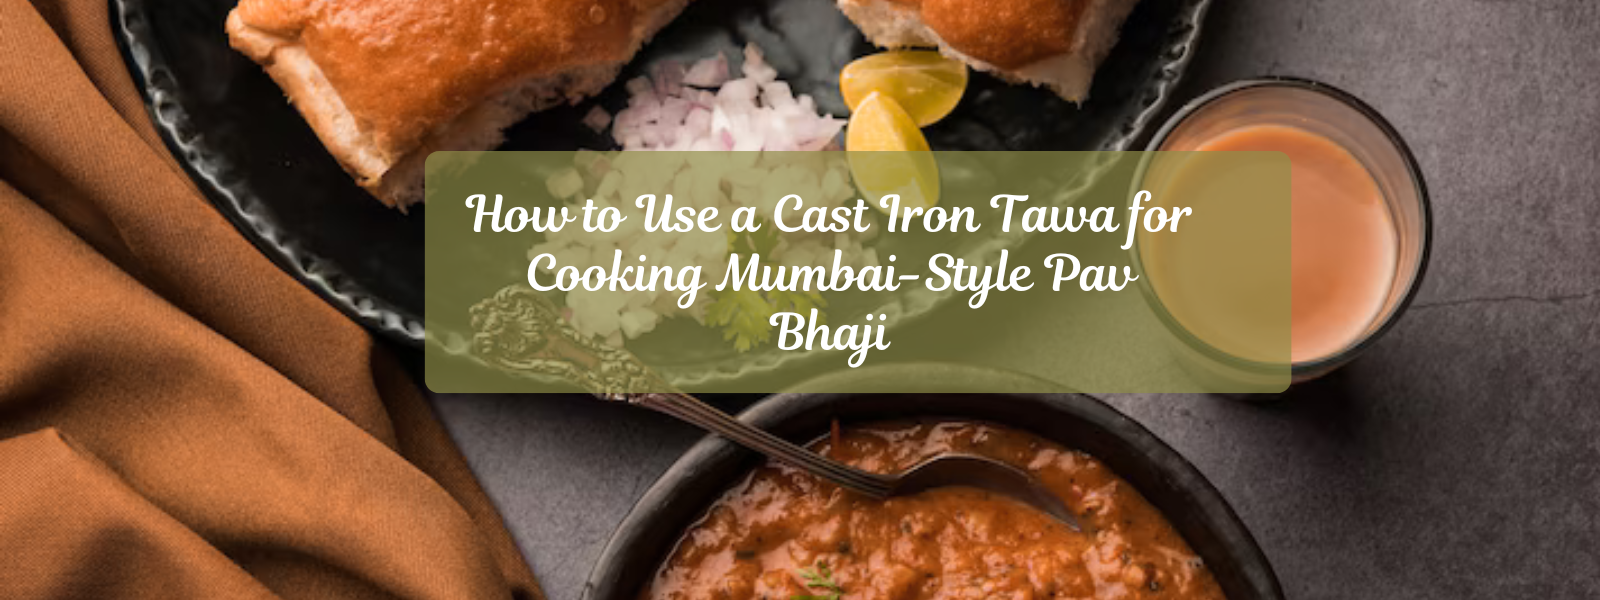
How to Use a Cast Iron Tawa for Cooking Mumbai-Style Pav Bhaji
2 Items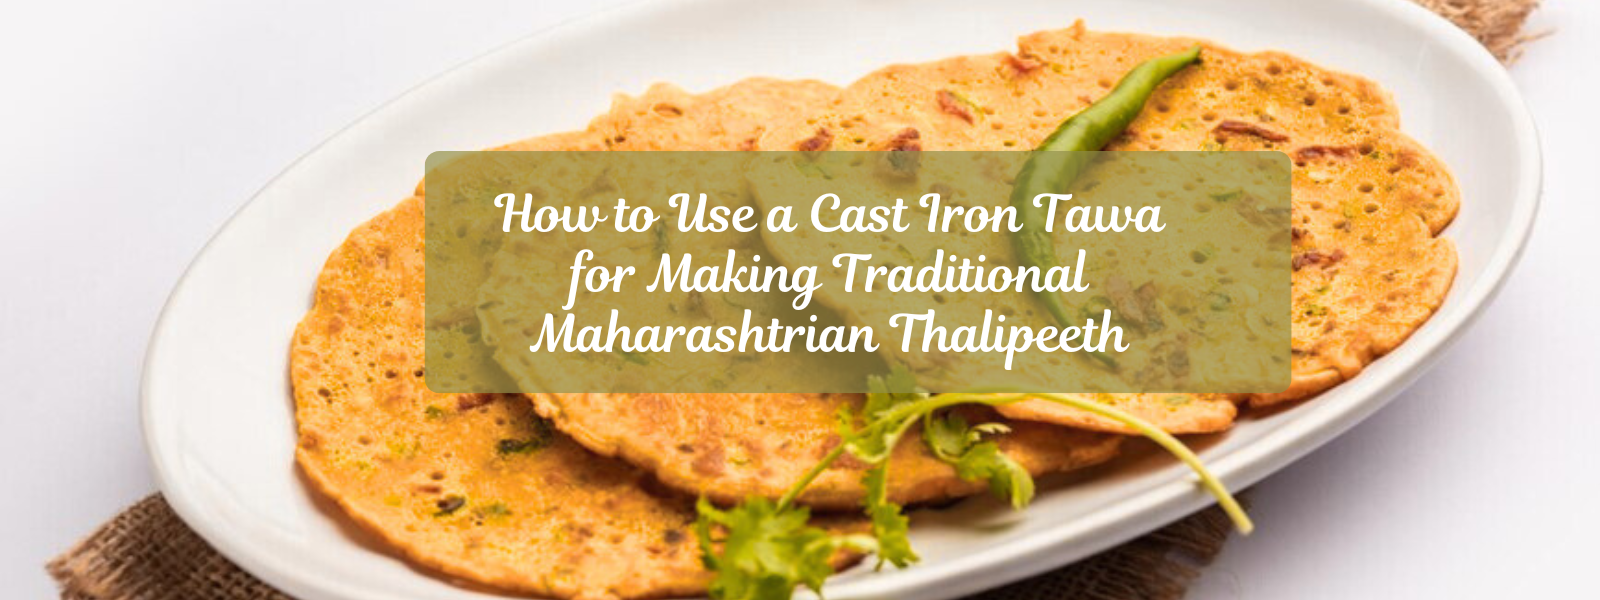
How to Use a Cast Iron Tawa for Making Traditional Maharashtrian Thalipeeth
2 Items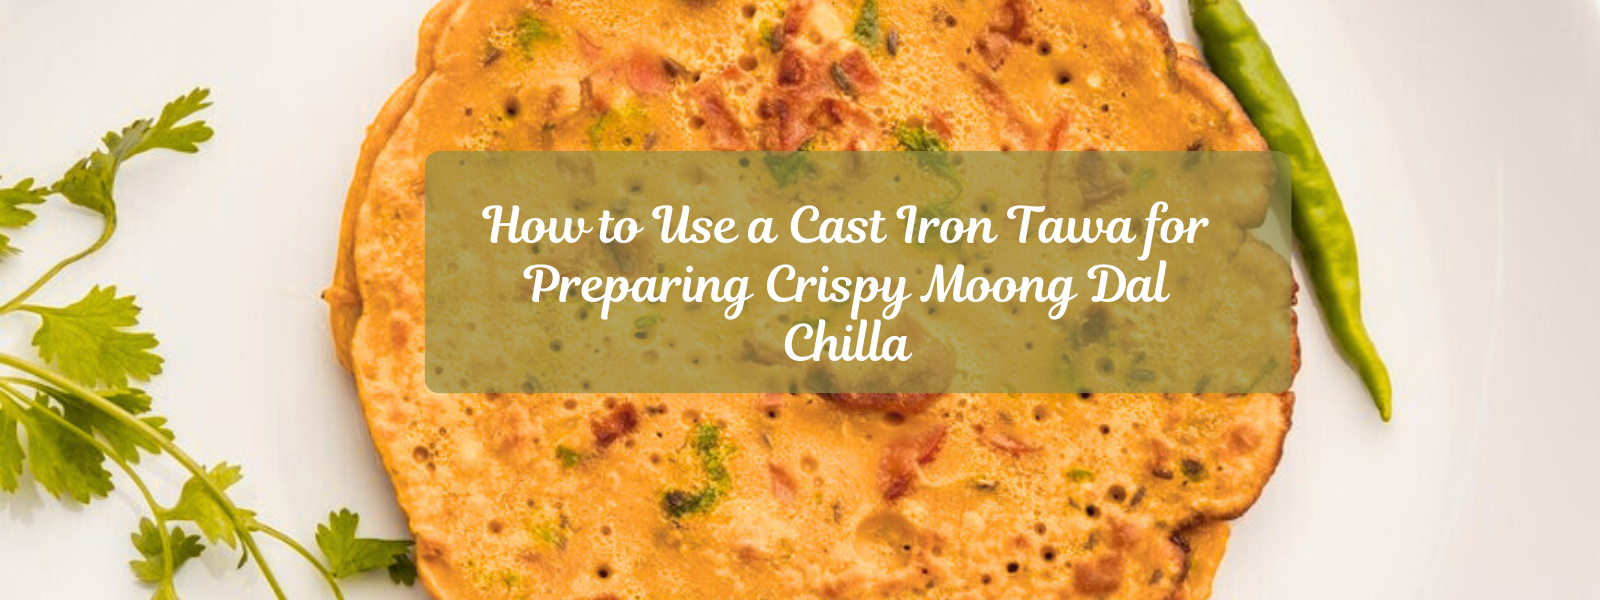
How to Use a Cast Iron Tawa for Preparing Crispy Moong Dal Chilla
2 Items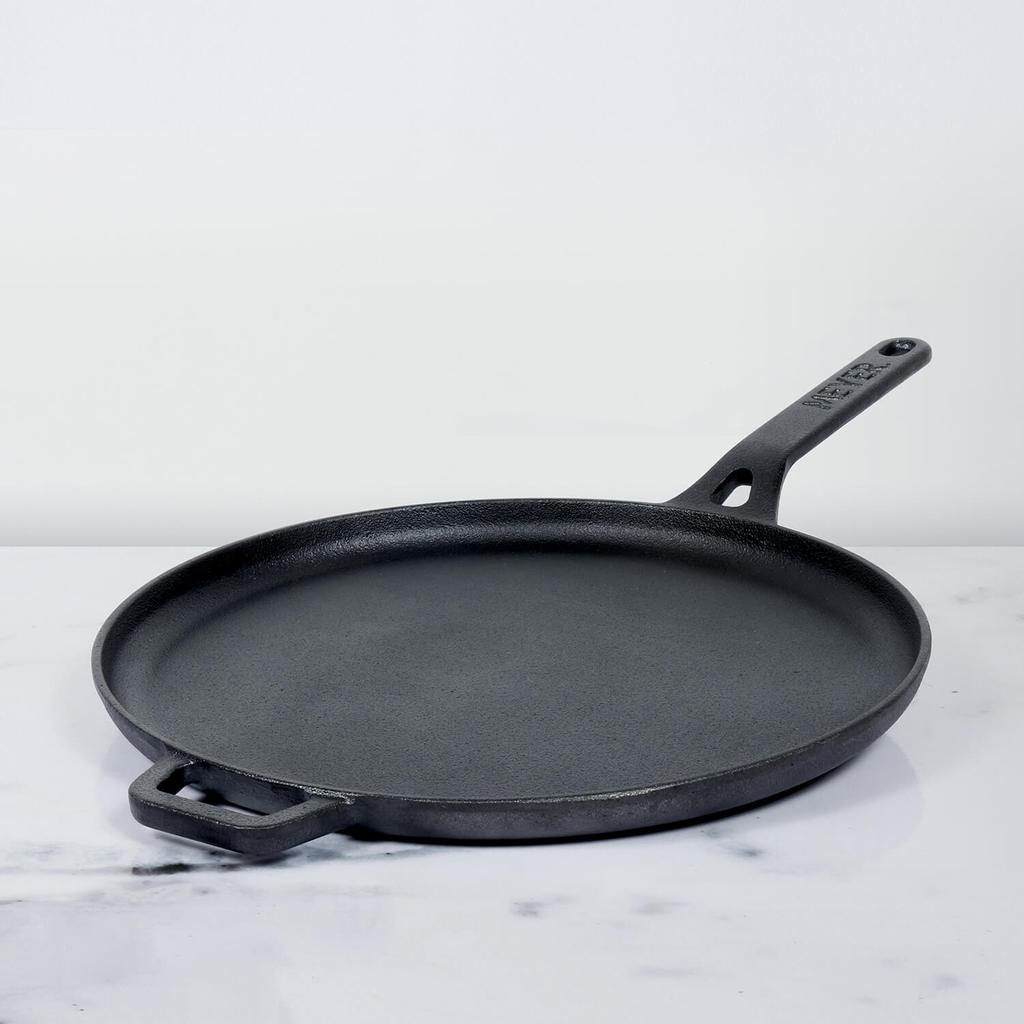


Leave a comment