


Getting soft, evenly cooked chapatis and perfectly puffed phulkas is an art every Indian kitchen strives to master. While technique and dough preparation matter immensely, the type of tawa you use has a major influence on the final result. Among all materials, cast iron remains the most trusted and traditional choice for making authentic rotis with exceptional softness and flavour.
This detailed guide explains everything—from kneading to heat control—to help you make flawless phulkas using a cast iron tawa.
Table of Contents
- 1. Why Cast Iron Tawa Is the Best for Rotis
- 2. Mastering the Chapati Dough
- 3. Getting Your Cast Iron Tawa to the Right Temperature
- 4. Rolling Rotis That Puff Well
- 5. Cooking Chapatis the Correct Way
- 6. Avoiding Common Mistakes
- 7. Caring for Your Cast Iron Tawa
- 8. Using Cast Iron Tawa vs. Non-Stick Tawa for Rotis
- 9. Conclusion
Why Cast Iron Tawa Is the Best for Rotis
Superior Heat Retention
Cast iron absorbs and holds heat far longer than aluminium or non-stick cookware. This consistent heat is crucial for quick, even cooking and perfect puffing. High-quality pre-seasoned options such as the Meyer Cast Iron Tawa make this process effortless for beginners and experienced cooks alike.
Natural Non-Stick Performance
A well-seasoned cast iron tawa develops a natural non-stick surface that only improves with use. This ensures your chapatis never tear or stick, even without oil.
Authentic Flavour & Texture
Rotis cooked on cast iron have a gentle smoky aroma and evenly browned spots, giving you the traditional taste and texture that modern pans struggle to replicate.
Health Benefits
Cooking on cast iron can increase dietary iron—a valuable benefit, especially for people with low iron levels.

Mastering the Chapati Dough
Perfect rotis begin with proper dough.
Use warm water to knead the atta—it helps the dough become soft and pliable.
Knead for about 7–10 minutes until smooth and stretchy.
Allow the dough to rest for 20–30 minutes, which relaxes the gluten and promotes puffing.
A slightly soft, elastic dough is ideal. Avoid making it too firm, as this leads to dense rotis.
Getting Your Cast Iron Tawa to the Right Temperature
Heat control is the foundation of perfect chapatis.
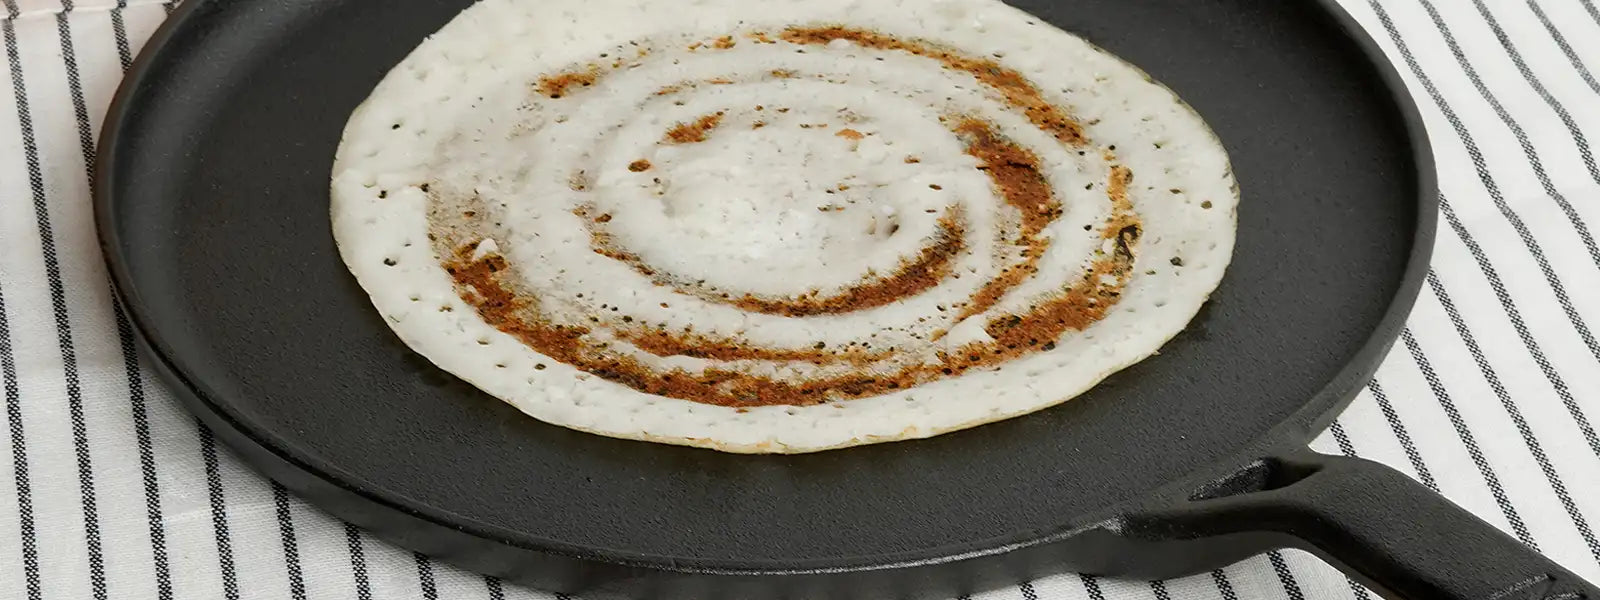
Test the tawa by sprinkling a few drops of water. If they evaporate instantly with a sizzle, the tawa is ready. Cast iron tawas like the Meyer Pre-Seasoned Cast Iron Tawa excel at maintaining optimal temperature even when making rotis in batches.
Avoid both extremes:
- A cold tawa hardens chapatis.
- An overheated tawa burns them before they puff.
Meyer Pre-Seasoned Cast Iron Flat Dosa Tawa, 24 cm, Black
Rolling Rotis That Puff Well
Even puffing requires even rolling.
Maintain uniform thickness across the entire roti. Use minimal dry flour to avoid burnt patches. Turn the roti often while rolling so it remains perfectly circular and evenly thin.
A well-rolled roti naturally puffs up by allowing steam to circulate inside.
Cooking Chapatis the Correct Way
Follow this precise order:
1. First Side
Place the roti on the hot tawa and cook only for a few seconds until light bubbles appear.
2. First Flip
Flip when small brown spots form.
3. Second Flip
Cook for a few seconds more; the roti will start to inflate slightly.
4. Puffing on Flame
Lift it with tongs and place directly over the flame. It will puff fully as steam pushes from the centre outward.
Cast iron enhances this process because it partially cooks the roti evenly before it hits the flame.
Avoiding Common Mistakes
-
Do not start on a cold tawa.
-
Do not overcook the first side.
-
Avoid uneven rolling.
-
Always use a seasoned tawa for best results.
Pre-seasoned cast iron from brands like Meyer helps avoid sticking issues common with new tawas.
Caring for Your Cast Iron Tawa
A properly maintained cast iron tawa can last a lifetime.
Season it regularly with a thin layer of oil.
Avoid harsh soaps; use warm water and a gentle scrubber.
Dry the tawa immediately after washing to prevent rust.
Apply a thin oil coating before storing.
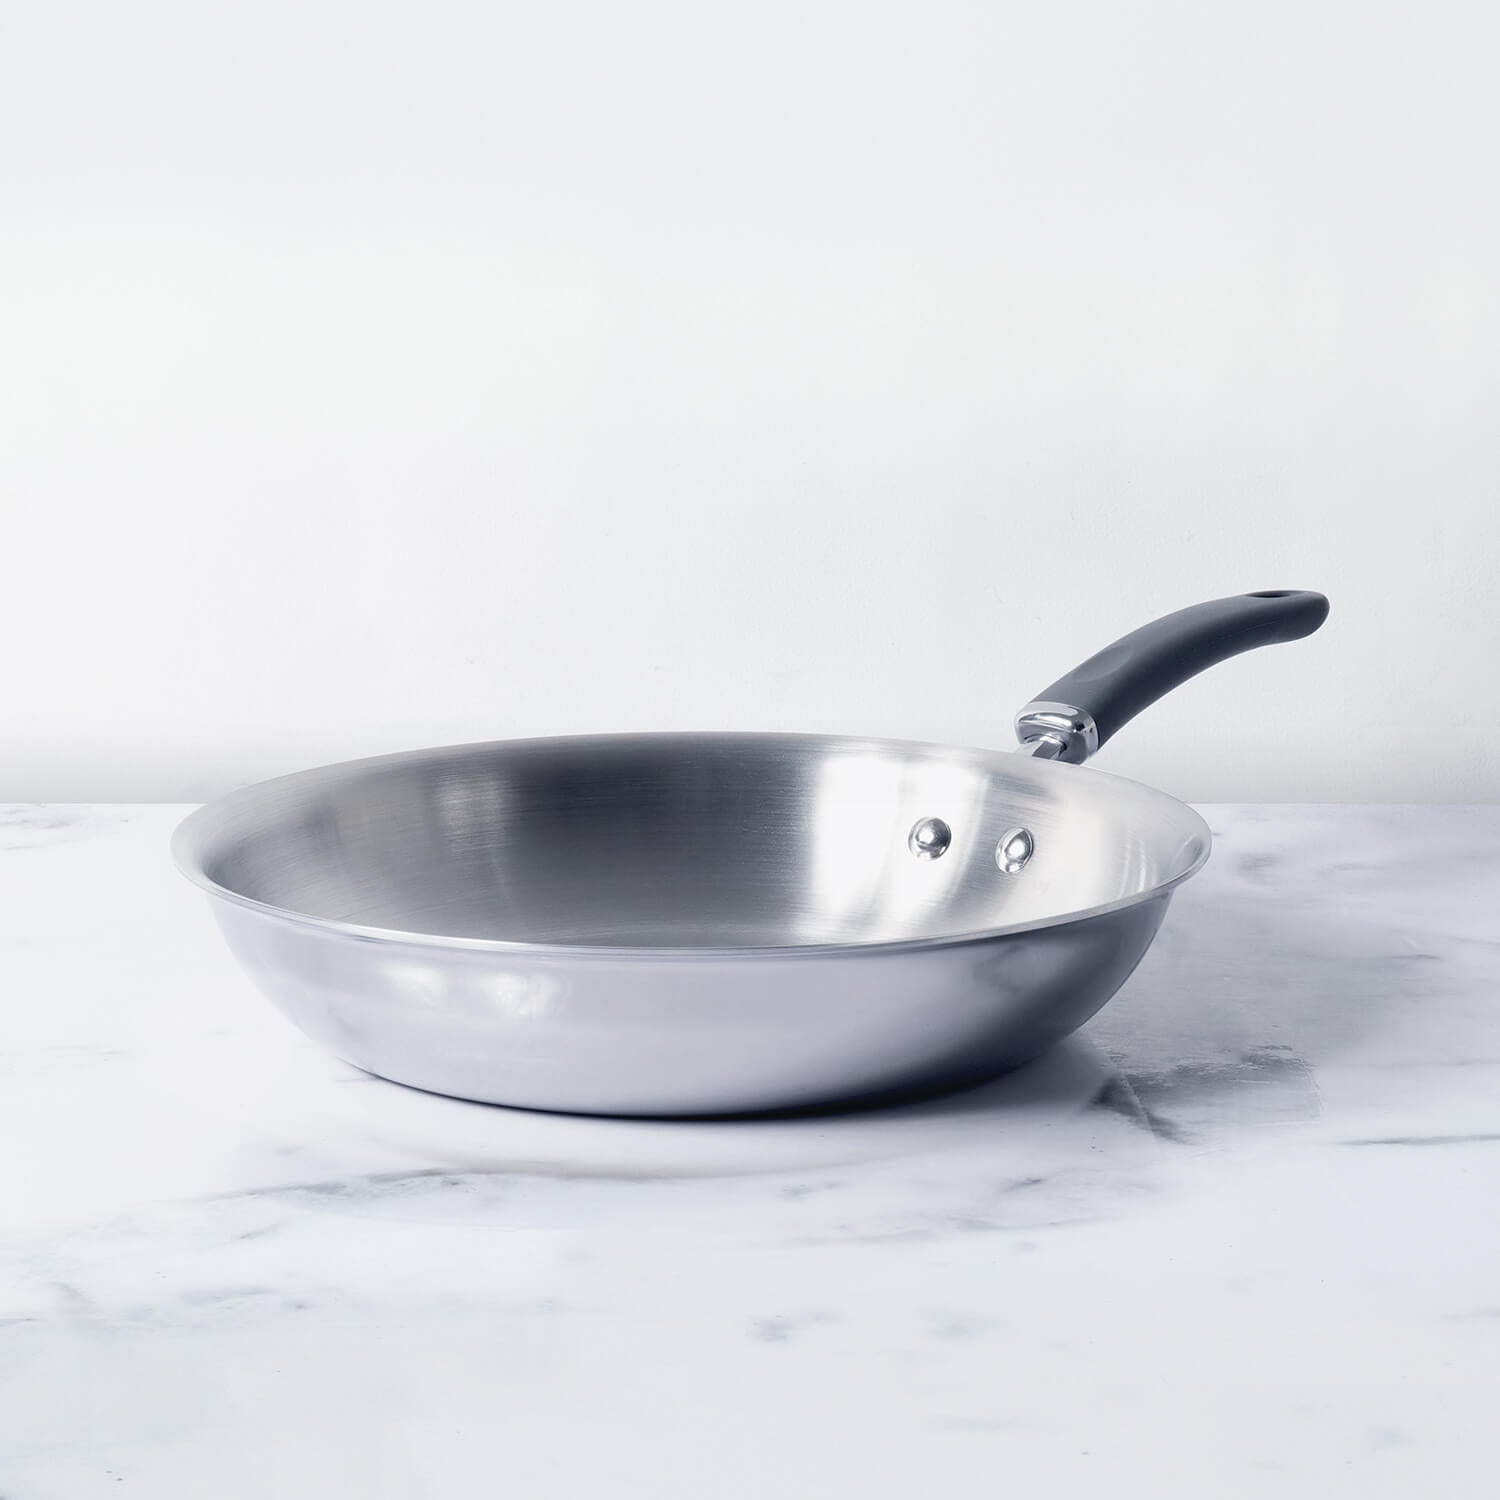
Using Cast Iron Tawa vs. Non-Stick Tawa for Rotis
When choosing between cast iron and non-stick tawas for making rotis, the difference boils down to heat performance and long-term reliability. Cast iron tawas offer outstanding heat retention, ensuring that chapatis cook evenly, form perfect brown spots and puff quickly. As the surface develops seasoning over time, the tawa becomes naturally non-stick without any chemical coating. Cast iron also supports high-heat cooking, essential for authentic phulkas, and lasts for decades with proper care.
Non-stick tawas, on the other hand, heat up quickly but do not retain heat as well, often leading to unevenly cooked rotis if not handled with precision. Their non-stick coating offers convenience but limits the temperatures you can use. Moreover, non-stick coatings wear out over time and require replacement, unlike cast iron which becomes better the more you use it.
For daily roti-making, cast iron clearly provides superior flavour, longevity, and performance.
Conclusion: Master Rotis with the Right Tawa
Perfect phulkas and chapatis depend on a combination of skill, proper dough, and—most importantly—the right tawa. A cast iron tawa provides unmatched heat retention, natural non-stick behaviour, and the beautiful texture that defines traditional Indian rotis. Whether you’re a beginner or an experienced cook, switching to a reliable option like the Meyer Pre-Seasoned Cast Iron Tawa can transform your roti-making routine almost instantly.
With consistent practice, good dough preparation, and the strength of cast iron on your side, perfect rotis become not just achievable but guaranteed.
MORE FROM BLOG
Top Collections
Cast Iron Dosa Tawa Vs Nonstick Tawa: Best Dosa Tawa in India
2 Items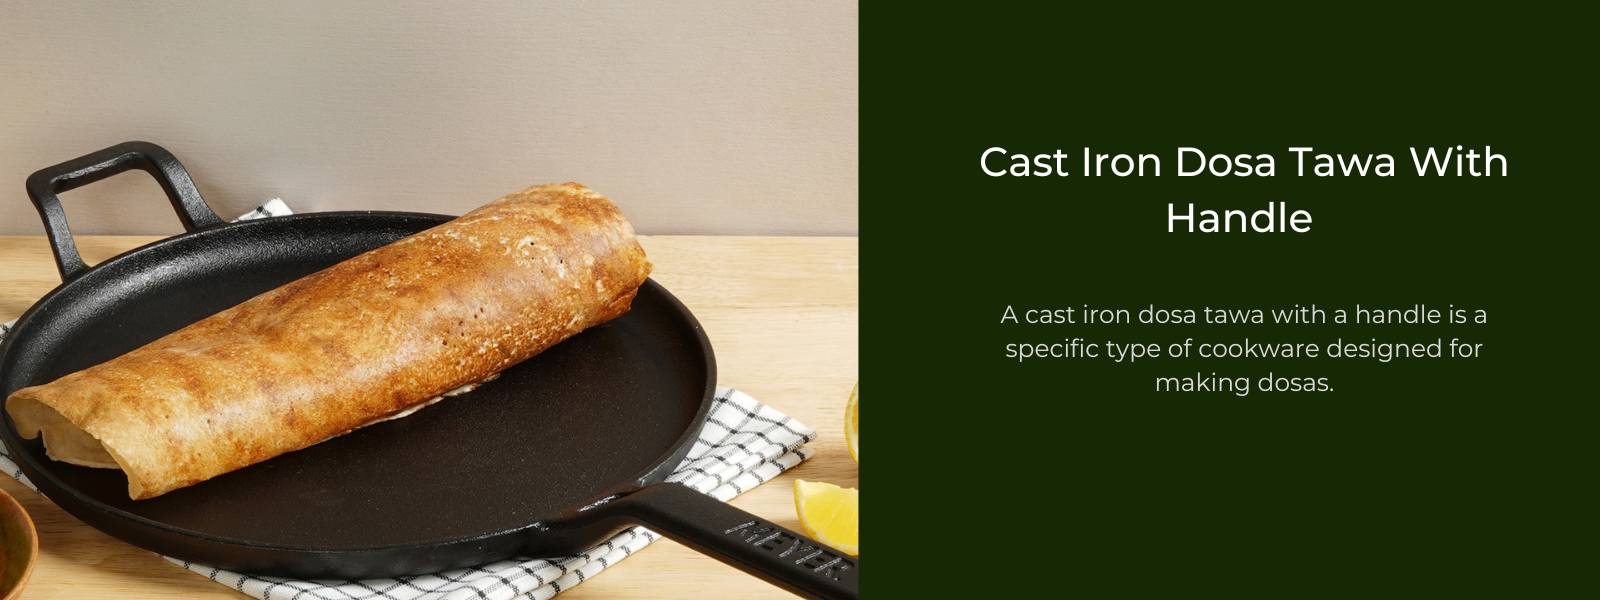
Cast Iron Dosa Tawa With Handle For Ease Of Use
2 Items
Cast Iron Griddle: Must-Have Cookware For Grilling
2 Items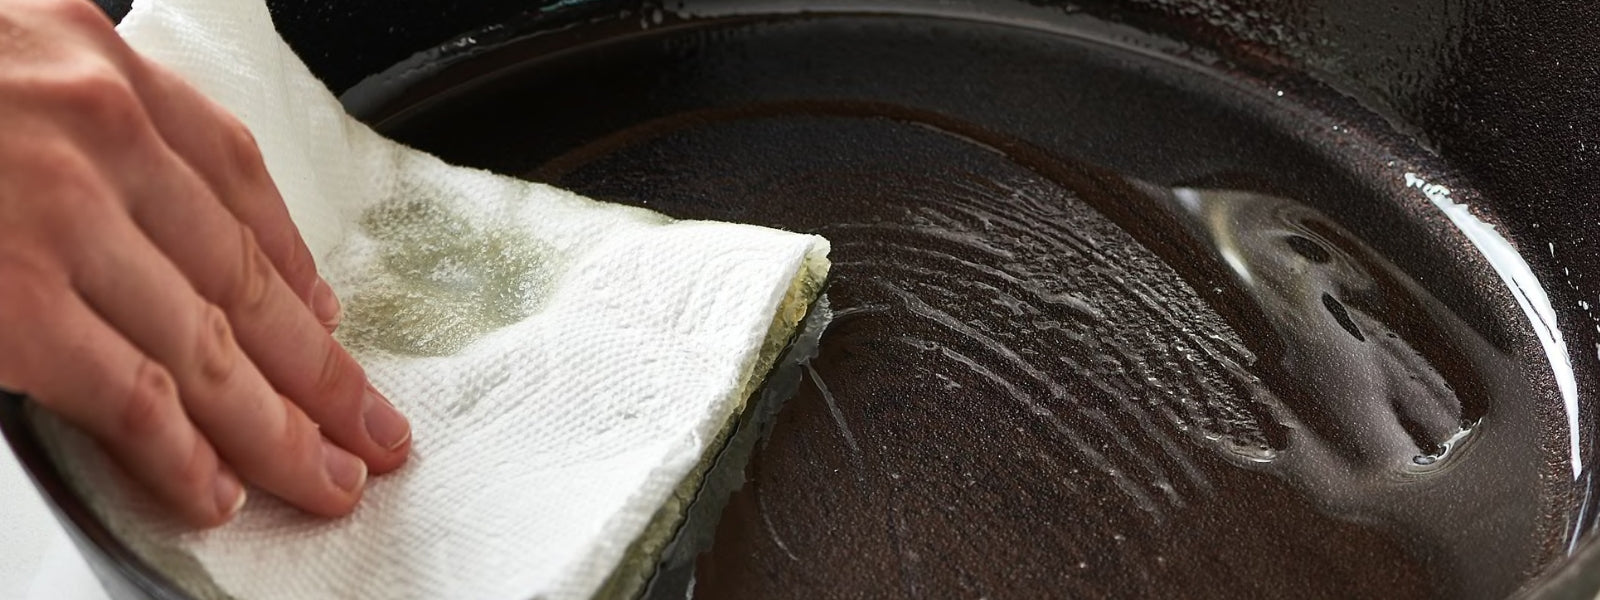
Cast Iron Skillet Seasoning Guide | Various ways for cast iron skillet seasoning
2 Items
Cast Iron Tawa Benefits
2 Items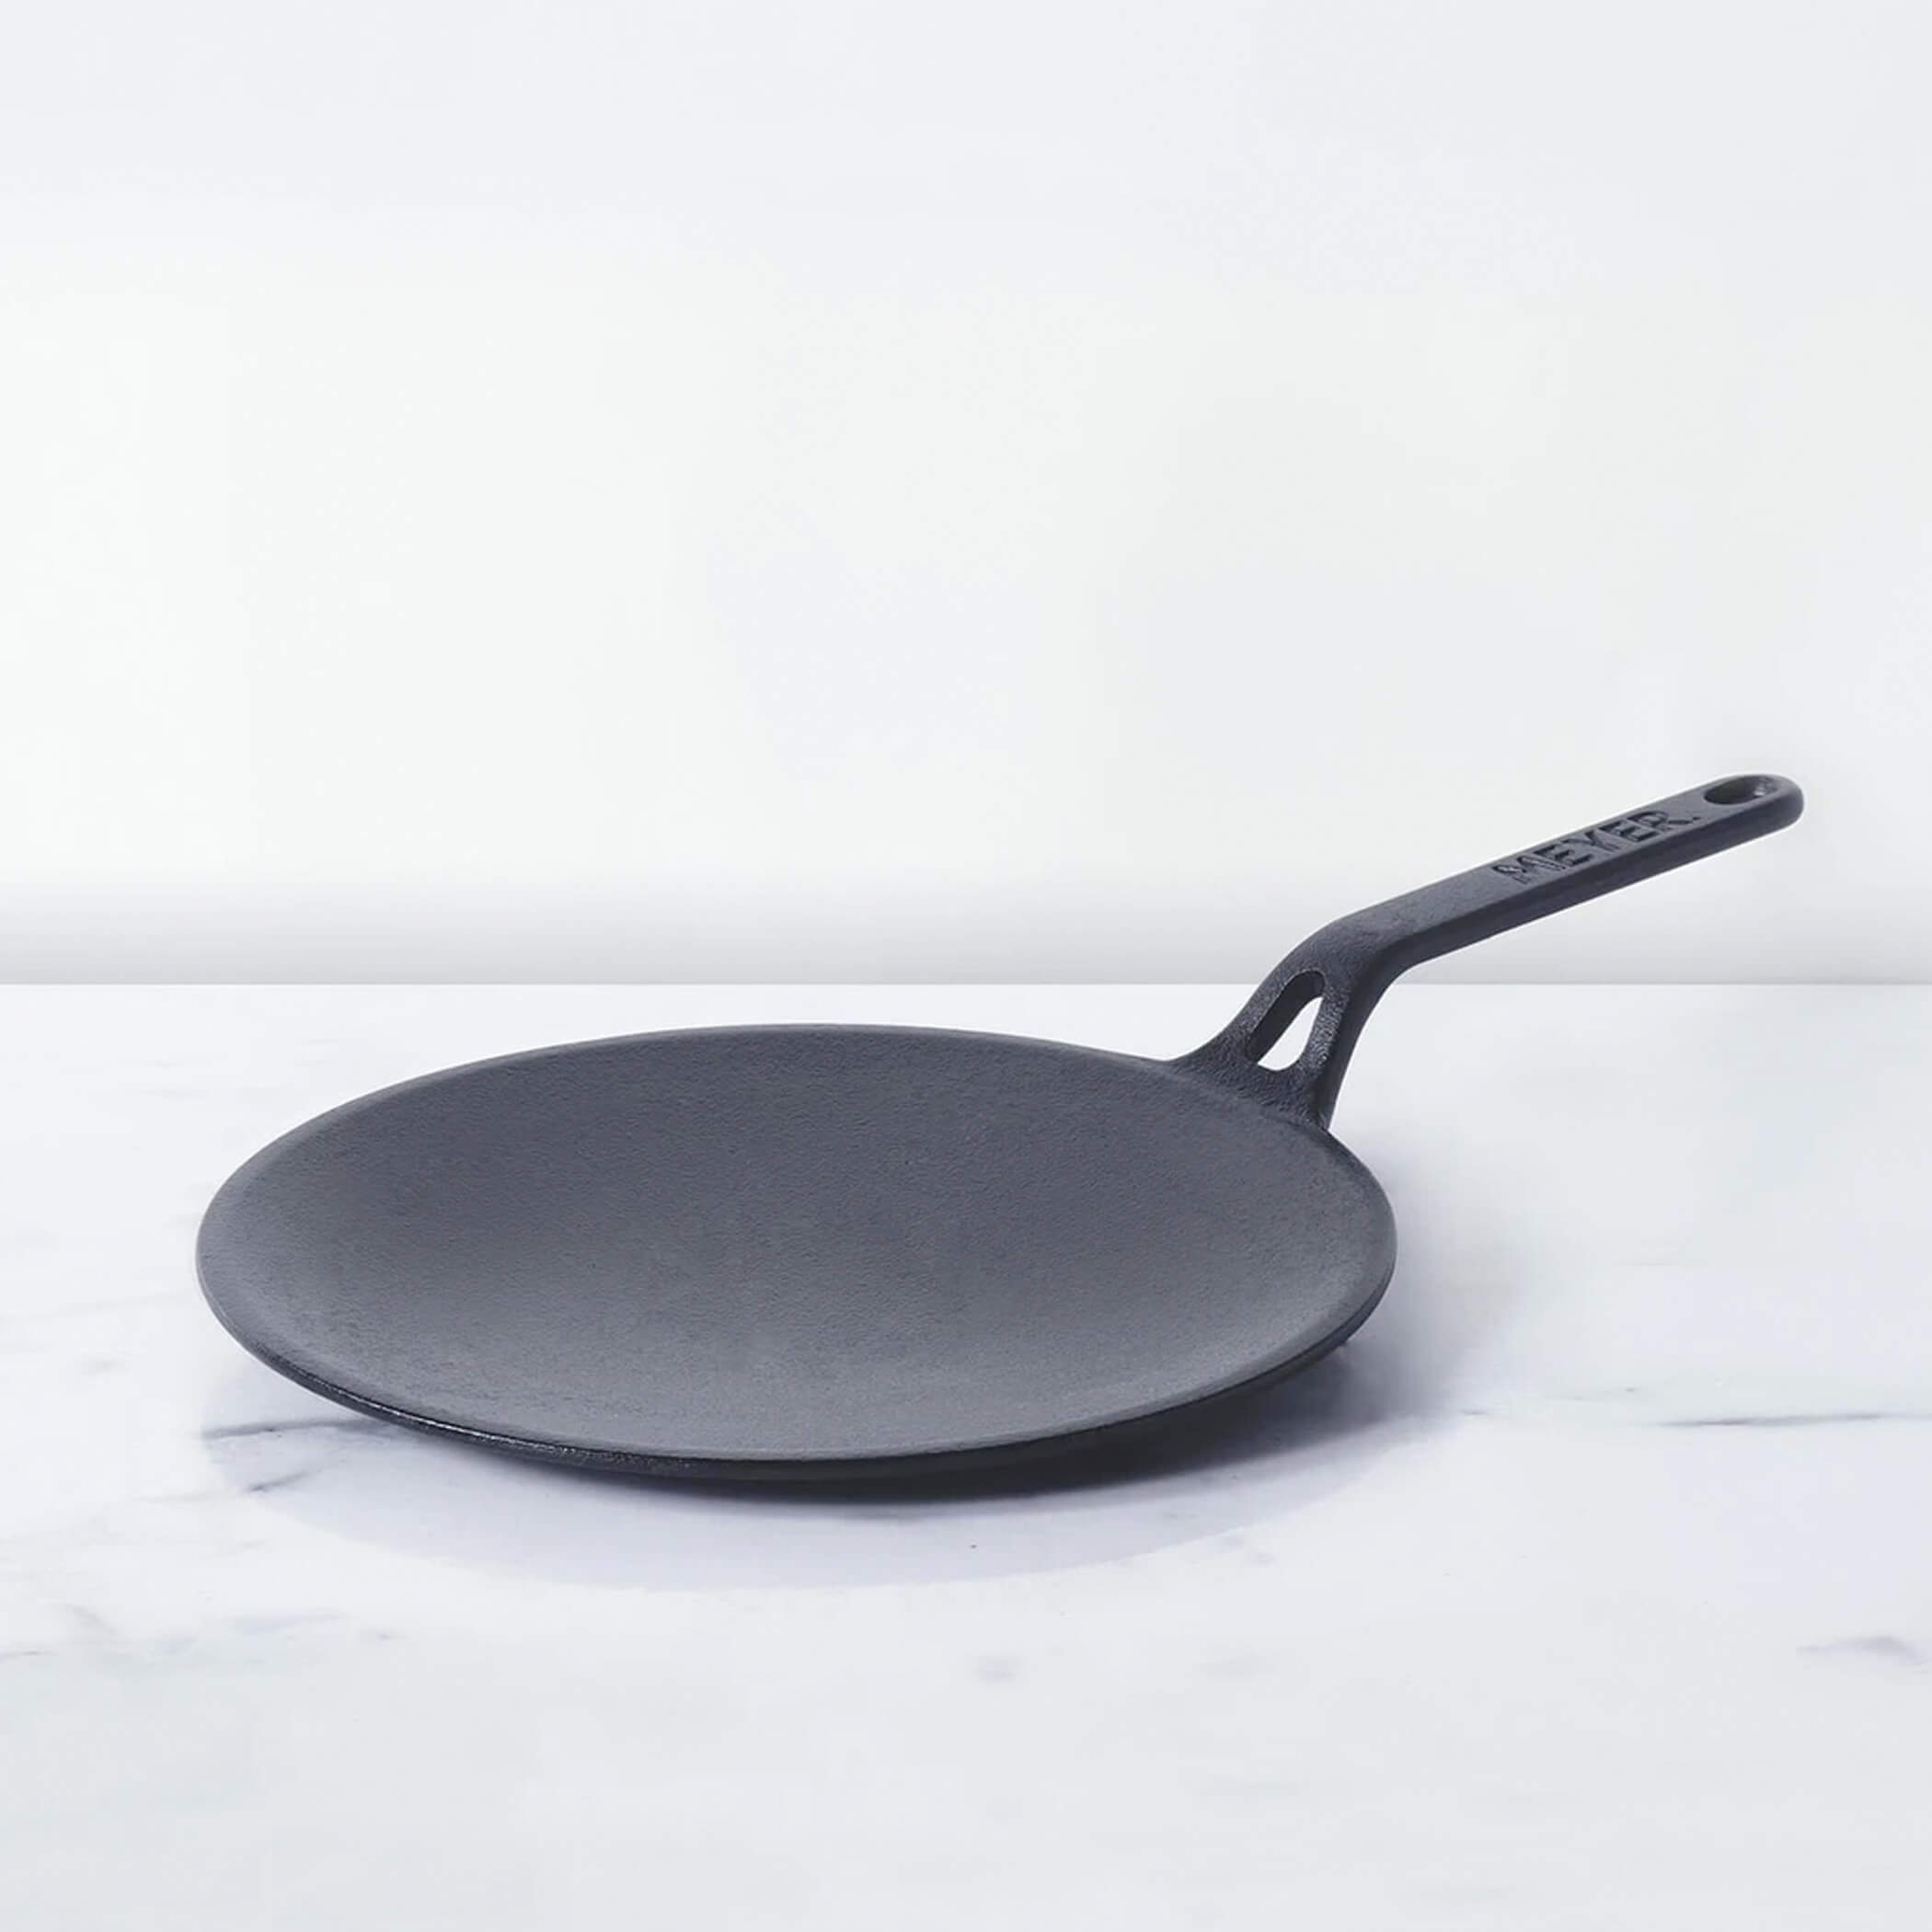


Leave a comment