The heart of Indian cooking lies in its masalas—and the soul of masalas lies in the bhuna technique. Whether you’re preparing a rich chicken curry, a paneer dish, or a simple aloo sabzi, the depth of flavour depends on how well your onions, tomatoes, ginger, garlic, and spices come together through slow, controlled sautéing.
Perfecting the bhuna is not just a cooking step—it’s a skill. When done correctly, it gives your dishes richness, aroma, and restaurant-style depth. This detailed guide breaks down the process of achieving the perfect masala texture and highlights the right cookware to support your technique.
Table of Contents
What Is Bhuna?
Bhuna refers to the technique of slowly sautéing spices, aromatics, and vegetables in oil until:
- the mixture reduces,
- the raw smell disappears,
- the colour deepens, and
- the oil separates from the sides.
This step builds the foundation of flavour. Without a well-bhuna masala, even the best ingredients cannot save a dish from being flat or underwhelming.
Why Bhuna Matters
1. Removes Raw Flavours
Bhuna gently cooks the rawness out of onions, ginger, garlic, and tomatoes. It thickens the masala and gives it a richer, sweeter, and rounder taste.
2. Enhances Spice Aroma
Dry spices release essential oils when sautéed. This not only enhances fragrance but also boosts flavour intensity.
3. Improves Texture
A properly bhuna masala becomes glossy, thick, and almost paste-like—perfect for coating vegetables, meat, or paneer evenly.
4. Helps Masala Stick to Ingredients
Well-bhuna masala clings beautifully to ingredients, making every bite flavourful.
Meyer Select Stainless Steel Sautepan 24cm
Step-by-Step Guide to Perfect Bhuna
1. Heat the Oil Properly
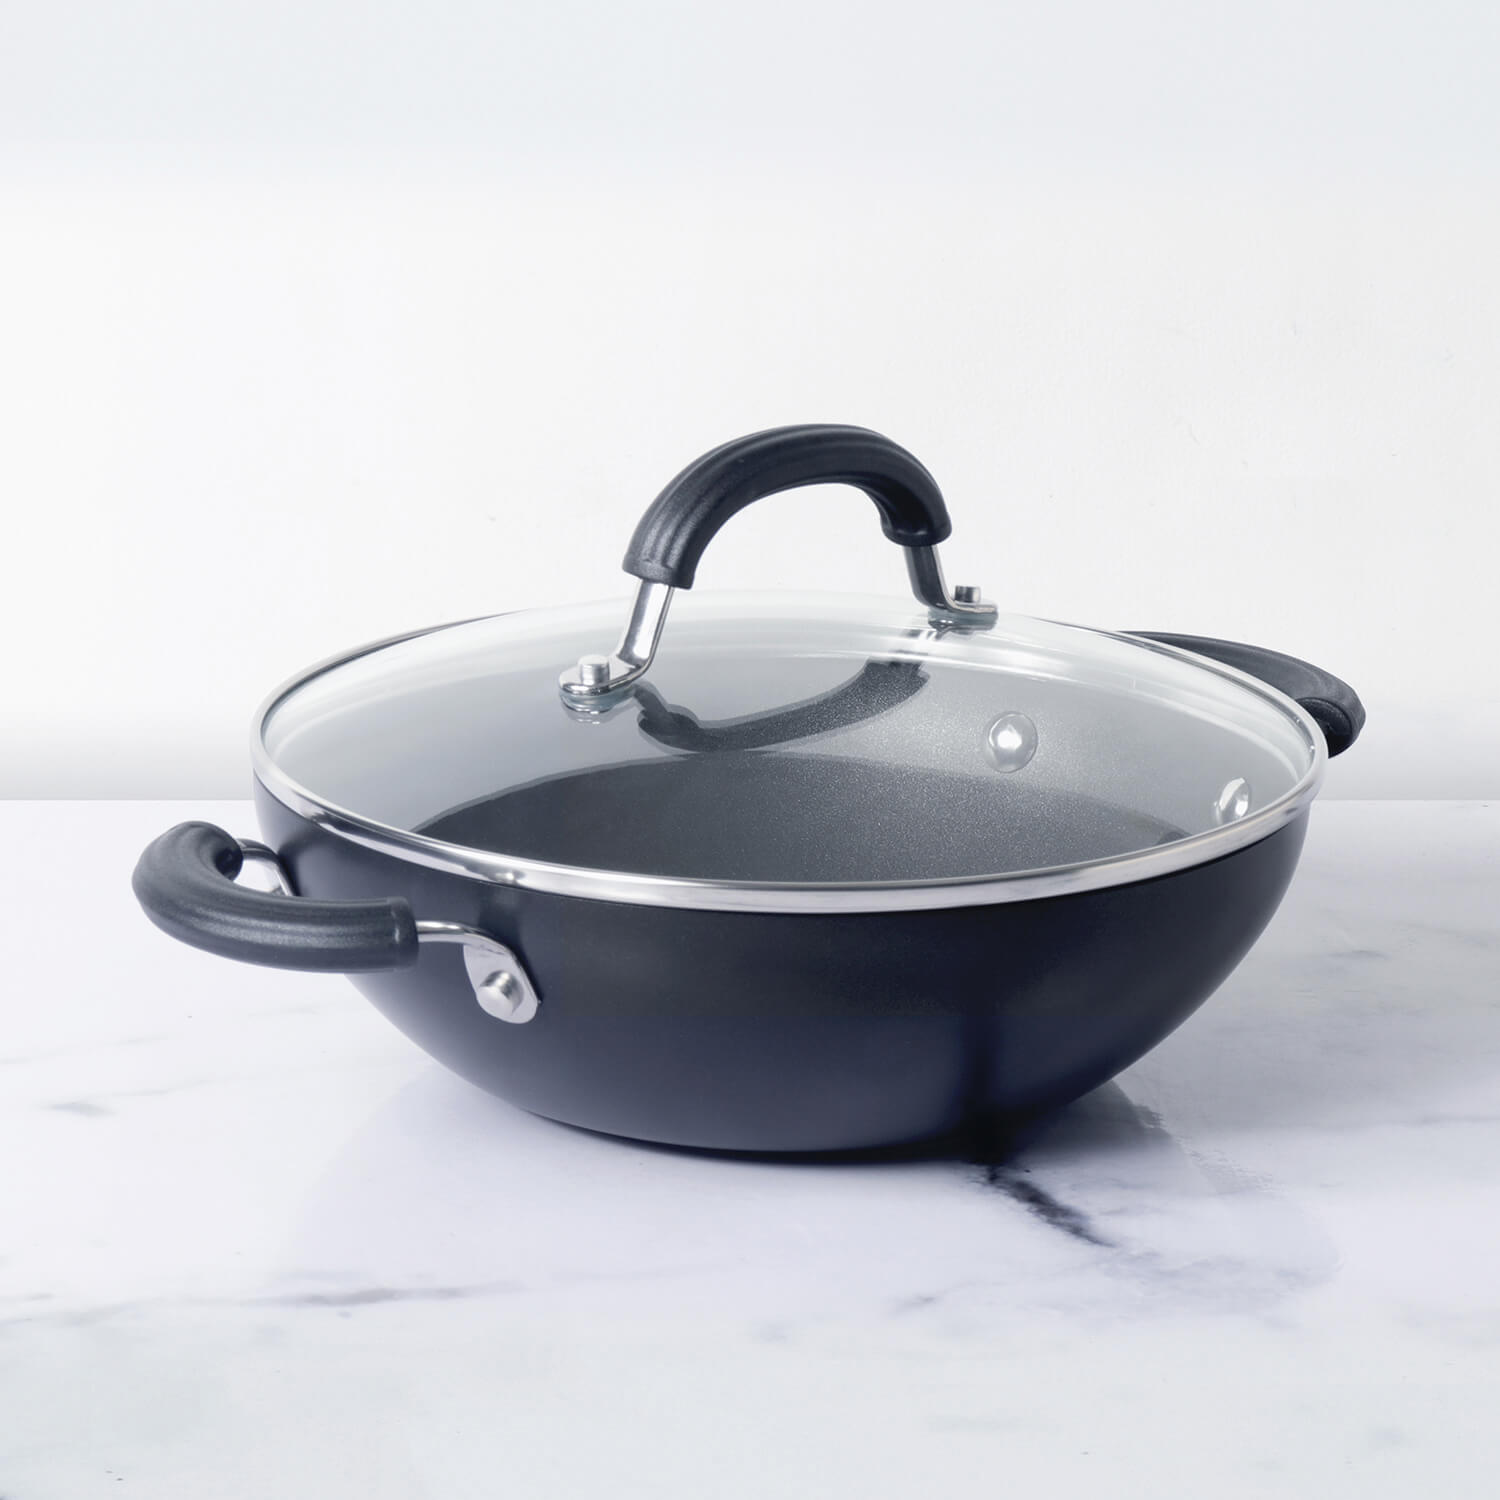
Begin with enough oil to lightly coat the base of your pan. If the oil is not hot enough, onions will steam instead of caramelizing. A heavy-bottomed kadai, such as a tri-ply stainless steel kadai or a hard-anodised pan, helps maintain stable heat.
For example, a sturdy stainless-steel kadai from Meyer or a hard-anodized Circulon pan heats evenly, preventing hotspots and burnt masala.
2. Slow and Steady Onion Browning
Add onions and sauté on medium heat.
Stir frequently and allow them to turn golden brown—not too light, not too dark.
This step develops the sweetness and depth that defines Indian curries.
If onions cook too fast, they turn bitter; too slow, and they stay pale.
3. Add Ginger-Garlic at the Right Time
Once onions turn golden, add ginger and garlic.
Cook until the raw smell disappears, which usually takes 2–3 minutes.
You should see the mixture start to thicken and stick slightly to the pan—this is a good sign.
4. Tomatoes: The Turning Point
Add chopped tomatoes or tomato puree next.
Cook until:
-
the tomatoes soften completely,
-
moisture evaporates,
-
and the mixture becomes semi-dry.
When the masala starts releasing oil, you know the bhuna process is progressing well.
At this stage, adding a splash of hot water and reducing again helps deepen the flavour.
5. Spice Time
Add dry spices—turmeric, coriander, cumin, red chilli, garam masala, etc.
Tips for this stage:
- Add spices only once the onion-tomato base has softened; otherwise, they may burn.
- Keep heat medium or low.
- Stir continuously to avoid sticking.
A well-conductive cookware surface, like that in Circulon’s hard-anodized pans with their patented Hi-Low system, prevents excessive sticking during bhuna.
6. Patience Is Key
Bhuna is not a rush job. Allow the masala to reduce slowly.
You’ll see:
- the mixture thicken,
- its colour deepen,
- aromas intensify,
- and oil begin to surface.
This stage may take 10–20 minutes depending on the quantity and moisture in your ingredients.
A pan with a thick base is essential because it allows slow cooking without burning. Meyer’s triply kadais or heavy cast iron options excel for this purpose.
7. The Final Oil Separation
This is your sign that the bhuna is complete:
- Oil separates from the sides,
- Masala stops spluttering,
- Colour becomes deep and rich,
- and texture becomes smooth and glossy.
Now you can add your vegetables, paneer, or meat and proceed with the recipe.
How the Right Cookware Helps You Perfect Bhuna
Bhuna requires consistent heat, a broad cooking surface, and thick cookware walls that prevent burning. Some suitable options include:
Provides even heat distribution, allowing masalas to brown gradually.
Like Circulon’s advanced pans—its Hi-Low design reduces sticking, making bhuna effortless even for beginners.
Retains heat beautifully, giving deep colour and flavour—excellent for long, slow bhuna processes.
Using the right cookware not only improves the texture but also enhances the aroma and taste of the final dish.
Common Bhuna Mistakes to Avoid
Using High Heat
High flame will burn your spices and darken your onions too quickly.
Adding Spices Too Early
Spices burn if added before the moisture is cooked down.
Skipping the Oil Separation Stage
If you stop early, your curry will taste raw, tangy, or harsh.
Crowding the Pan
Crowding traps steam and prevents proper browning.
Using a Thin Pan
Thin aluminium pans make masalas stick and burn.
Advanced Bhuna Tips for Richer Masalas
Add Masala in Stages
If you’re cooking for a richer gravy, sauté the masala, add a splash of water, reduce, and repeat. This forms deeper layers of flavour.
Use Freshly Ground Spices
Whole spices ground at home offer better fragrance.
Add a Little Fat at the End
A teaspoon of ghee during the last stage gives a restaurant-style finish.
Conclusion: Bhuna Is the Backbone of Great Indian Cooking
Perfecting the bhuna technique transforms your cooking, taking everyday dishes to a professional level. The colour, texture, and aroma of well-bhuna masala define the soul of Indian cuisine. With the right ingredients, patience, and the support of good cookware—like a sturdy stainless-steel kadai from Meyer or a hard-anodized Circulon pan—you can elevate your bhuna to perfection.
Once you master this foundation, every curry you make—whether vegetarian, non-vegetarian, light, or indulgent—will taste richer, smoother, and more flavourful.







Leave a comment