

Masala Uttapam is a beloved South Indian delicacy—a thick, fluffy pancake-like dish made from fermented rice and urad dal batter, topped with a colourful medley of vegetables and aromatic spices. What truly elevates the experience is a golden, crispy base paired with a soft, spongy interior. Achieving that perfect texture at home isn’t just about the batter—it’s about using the right cookware. A cast iron tawa offers excellent heat retention and even cooking, making it the ideal choice for crisping up the base while gently cooking the inside.
Let’s explore how to master the art of making crispy Masala Uttapam using a cast iron tawa.
Table of Contents
Why Use a Cast Iron Tawa for Masala Uttapam?
Using a cast iron tawa gives your uttapams the same authentic touch you’d get at a South Indian eatery. Here’s why it works so well:
- Superior Heat Retention: Once hot, cast iron holds its temperature, helping you get that gorgeous brown crispiness on the base.
- Even Cooking Surface: No hot spots—just a uniformly cooked uttapam from edge to center.
- Naturally Non-Stick: A well-seasoned tawa allows easy flipping and a beautiful surface crust without synthetic coatings.
- Adds Iron to Food: Cooking on cast iron can boost your meal’s nutritional value—especially helpful for those needing more dietary iron.
Essential Ingredients for Masala Uttapam
-
Fermented dosa batter (homemade or store-bought)
-
Finely chopped onions, tomatoes, green chilies, coriander
-
Grated carrots or beetroot (optional)
-
Salt and red chili powder (to taste)
-
Oil or ghee (for cooking)
Step-by-Step Guide to Cooking Crispy Masala Uttapam on Cast Iron Tawa
1. Preheat the Cast Iron Tawa Properly
Before you pour the batter, make sure your tawa is well-heated. Medium-high heat for 3–5 minutes usually does the trick. This step is crucial for creating a crispy base.
Tip: To check readiness, sprinkle a few drops of water. If they sizzle and evaporate quickly, the tawa is ready.
2. Lightly Grease the Surface
Add a few drops of oil or ghee and spread it evenly using a paper towel or onion half. This helps prevent sticking and gives your uttapam a lovely flavor.
3. Pour and Spread the Batter Gently
Ladle the thick dosa batter onto the tawa. Don’t spread it too thin—Masala Uttapam should be thick and fluffy. Just a gentle circular motion to slightly spread the batter is enough.
4. Add the Masala Toppings
Quickly sprinkle your chopped veggies (onions, tomatoes, chilies, coriander) over the top. You can gently press them into the batter with a spatula so they cook into it.
Optional: Sprinkle some salt and chili powder for extra zing.
5. Drizzle Oil Around the Edges
Pour a little oil around the sides and a few drops on top. This ensures a golden, crispy crust and helps the uttapam cook evenly without drying out.
6. Cover and Cook
Cover the uttapam with a lid and cook on medium heat for 2–3 minutes. This helps steam the top while the base crisps up.
7. Flip (Optional)
For a slightly crisper top or evenly cooked veggies, you can gently flip the uttapam and cook for an additional minute. This step is optional but useful if you’ve added heavier toppings like cheese or paneer.
8. Serve Hot
Once cooked, slide it off the tawa and serve hot with coconut chutney, sambar, or tomato-onion chutney.
Pro Tips for the Best Crispy Masala Uttapam
- Use slightly thick batter for uttapam; too thin will make it flat and less fluffy.
- Don’t flip too early—wait until the edges start turning golden brown.
- Clean your cast iron tawa after each use and season it regularly to maintain its non-stick quality.
- Always let the tawa reheat between batches for consistent results.
Conclusion
If you’re craving restaurant-style Masala Uttapam with a crispy base, ditch the non-stick and switch to a cast iron tawa. It not only delivers unmatched texture and taste but also adds a rustic charm to your cooking experience. With the right technique and a seasoned tawa, you’ll be able to whip up uttapams that are crispy on the outside, soft inside, and bursting with flavor in every bite.
So, heat up your cast iron tawa, prep your veggies, and get ready to serve up South Indian street food magic—right from your kitchen!
MORE FROM BLOG
Top Collections
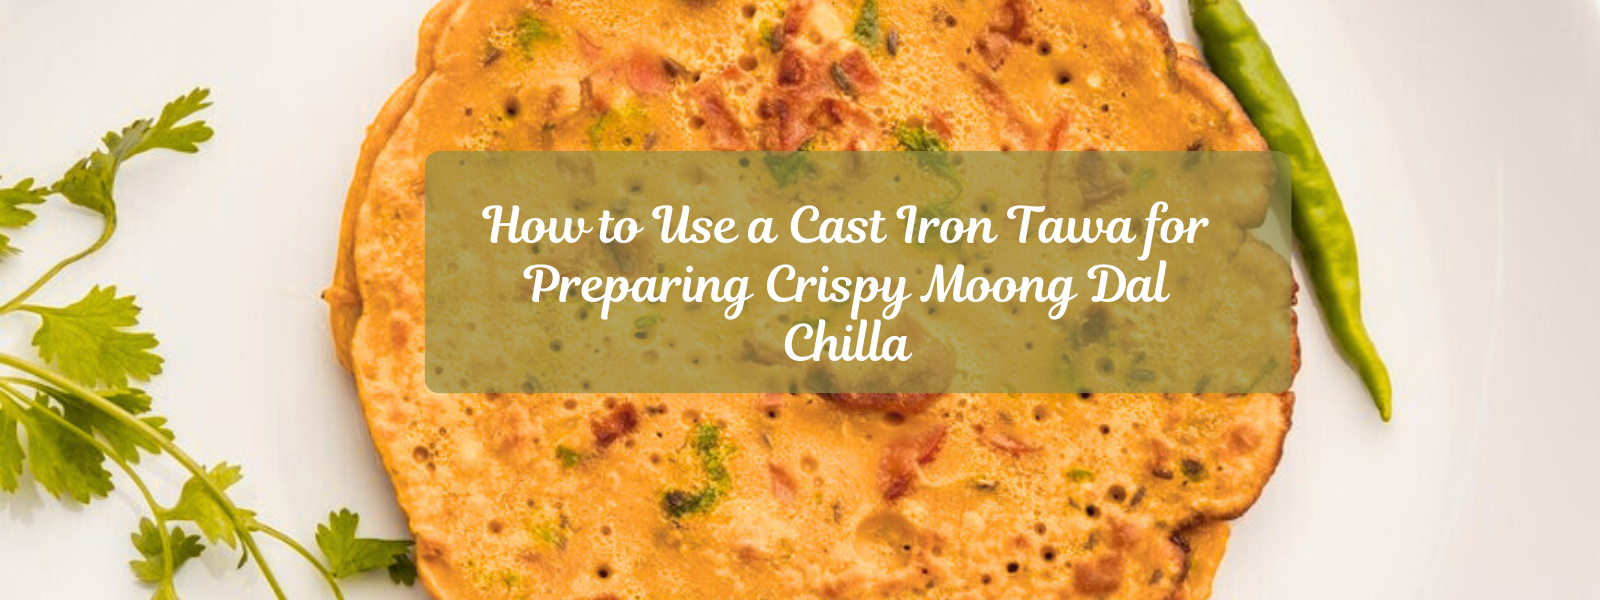
How to Use a Cast Iron Tawa for Preparing Crispy Moong Dal Chilla
2 Items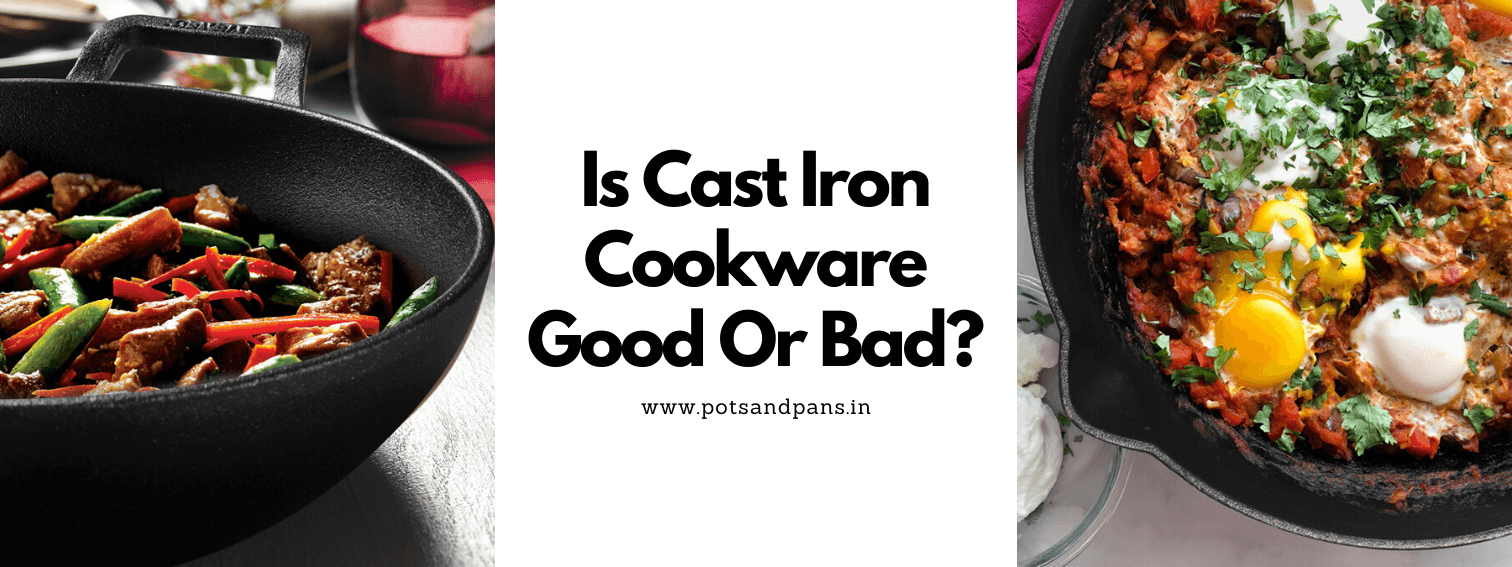
Is Cast Iron Cookware Good Or Bad?
2 Items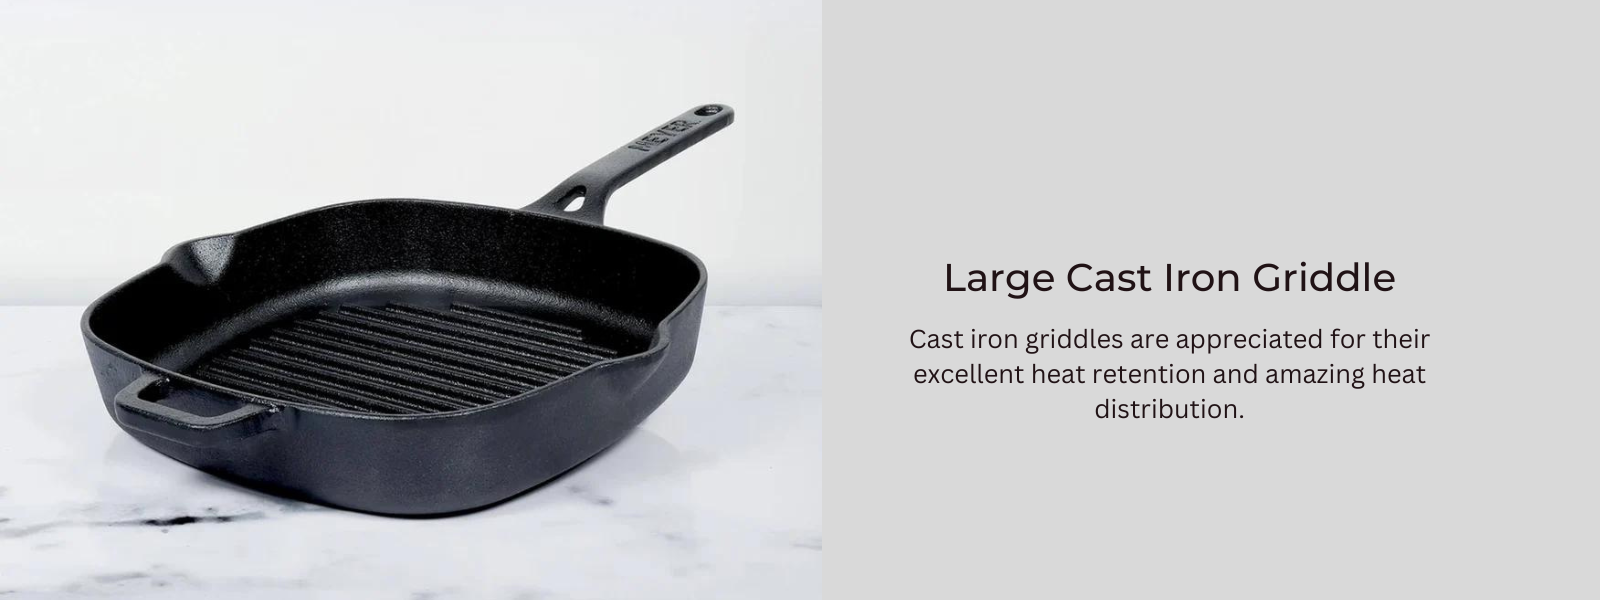
Large Cast Iron Griddle: Key Features And Benefits
2 Items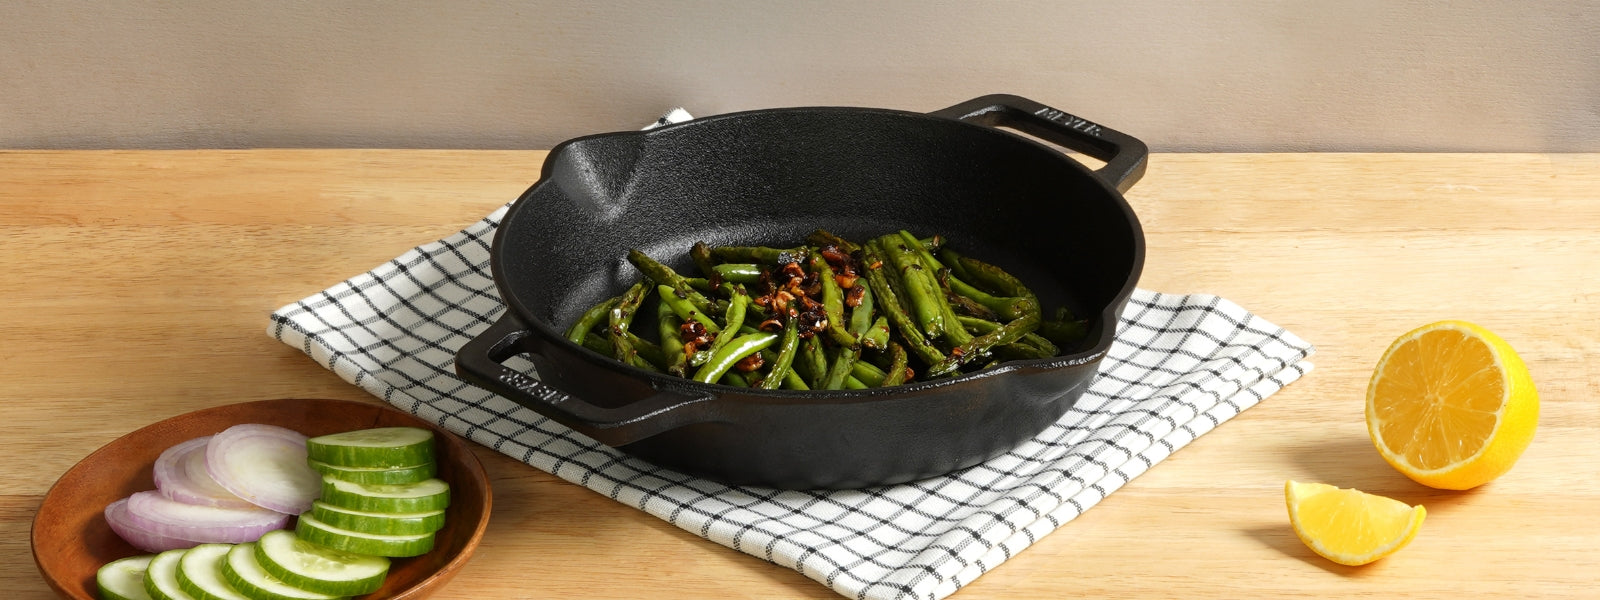
Meyer Cast Iron Skillet pan | The Ultimate Pan for Any Home Cook | Pots and Pans India
2 Items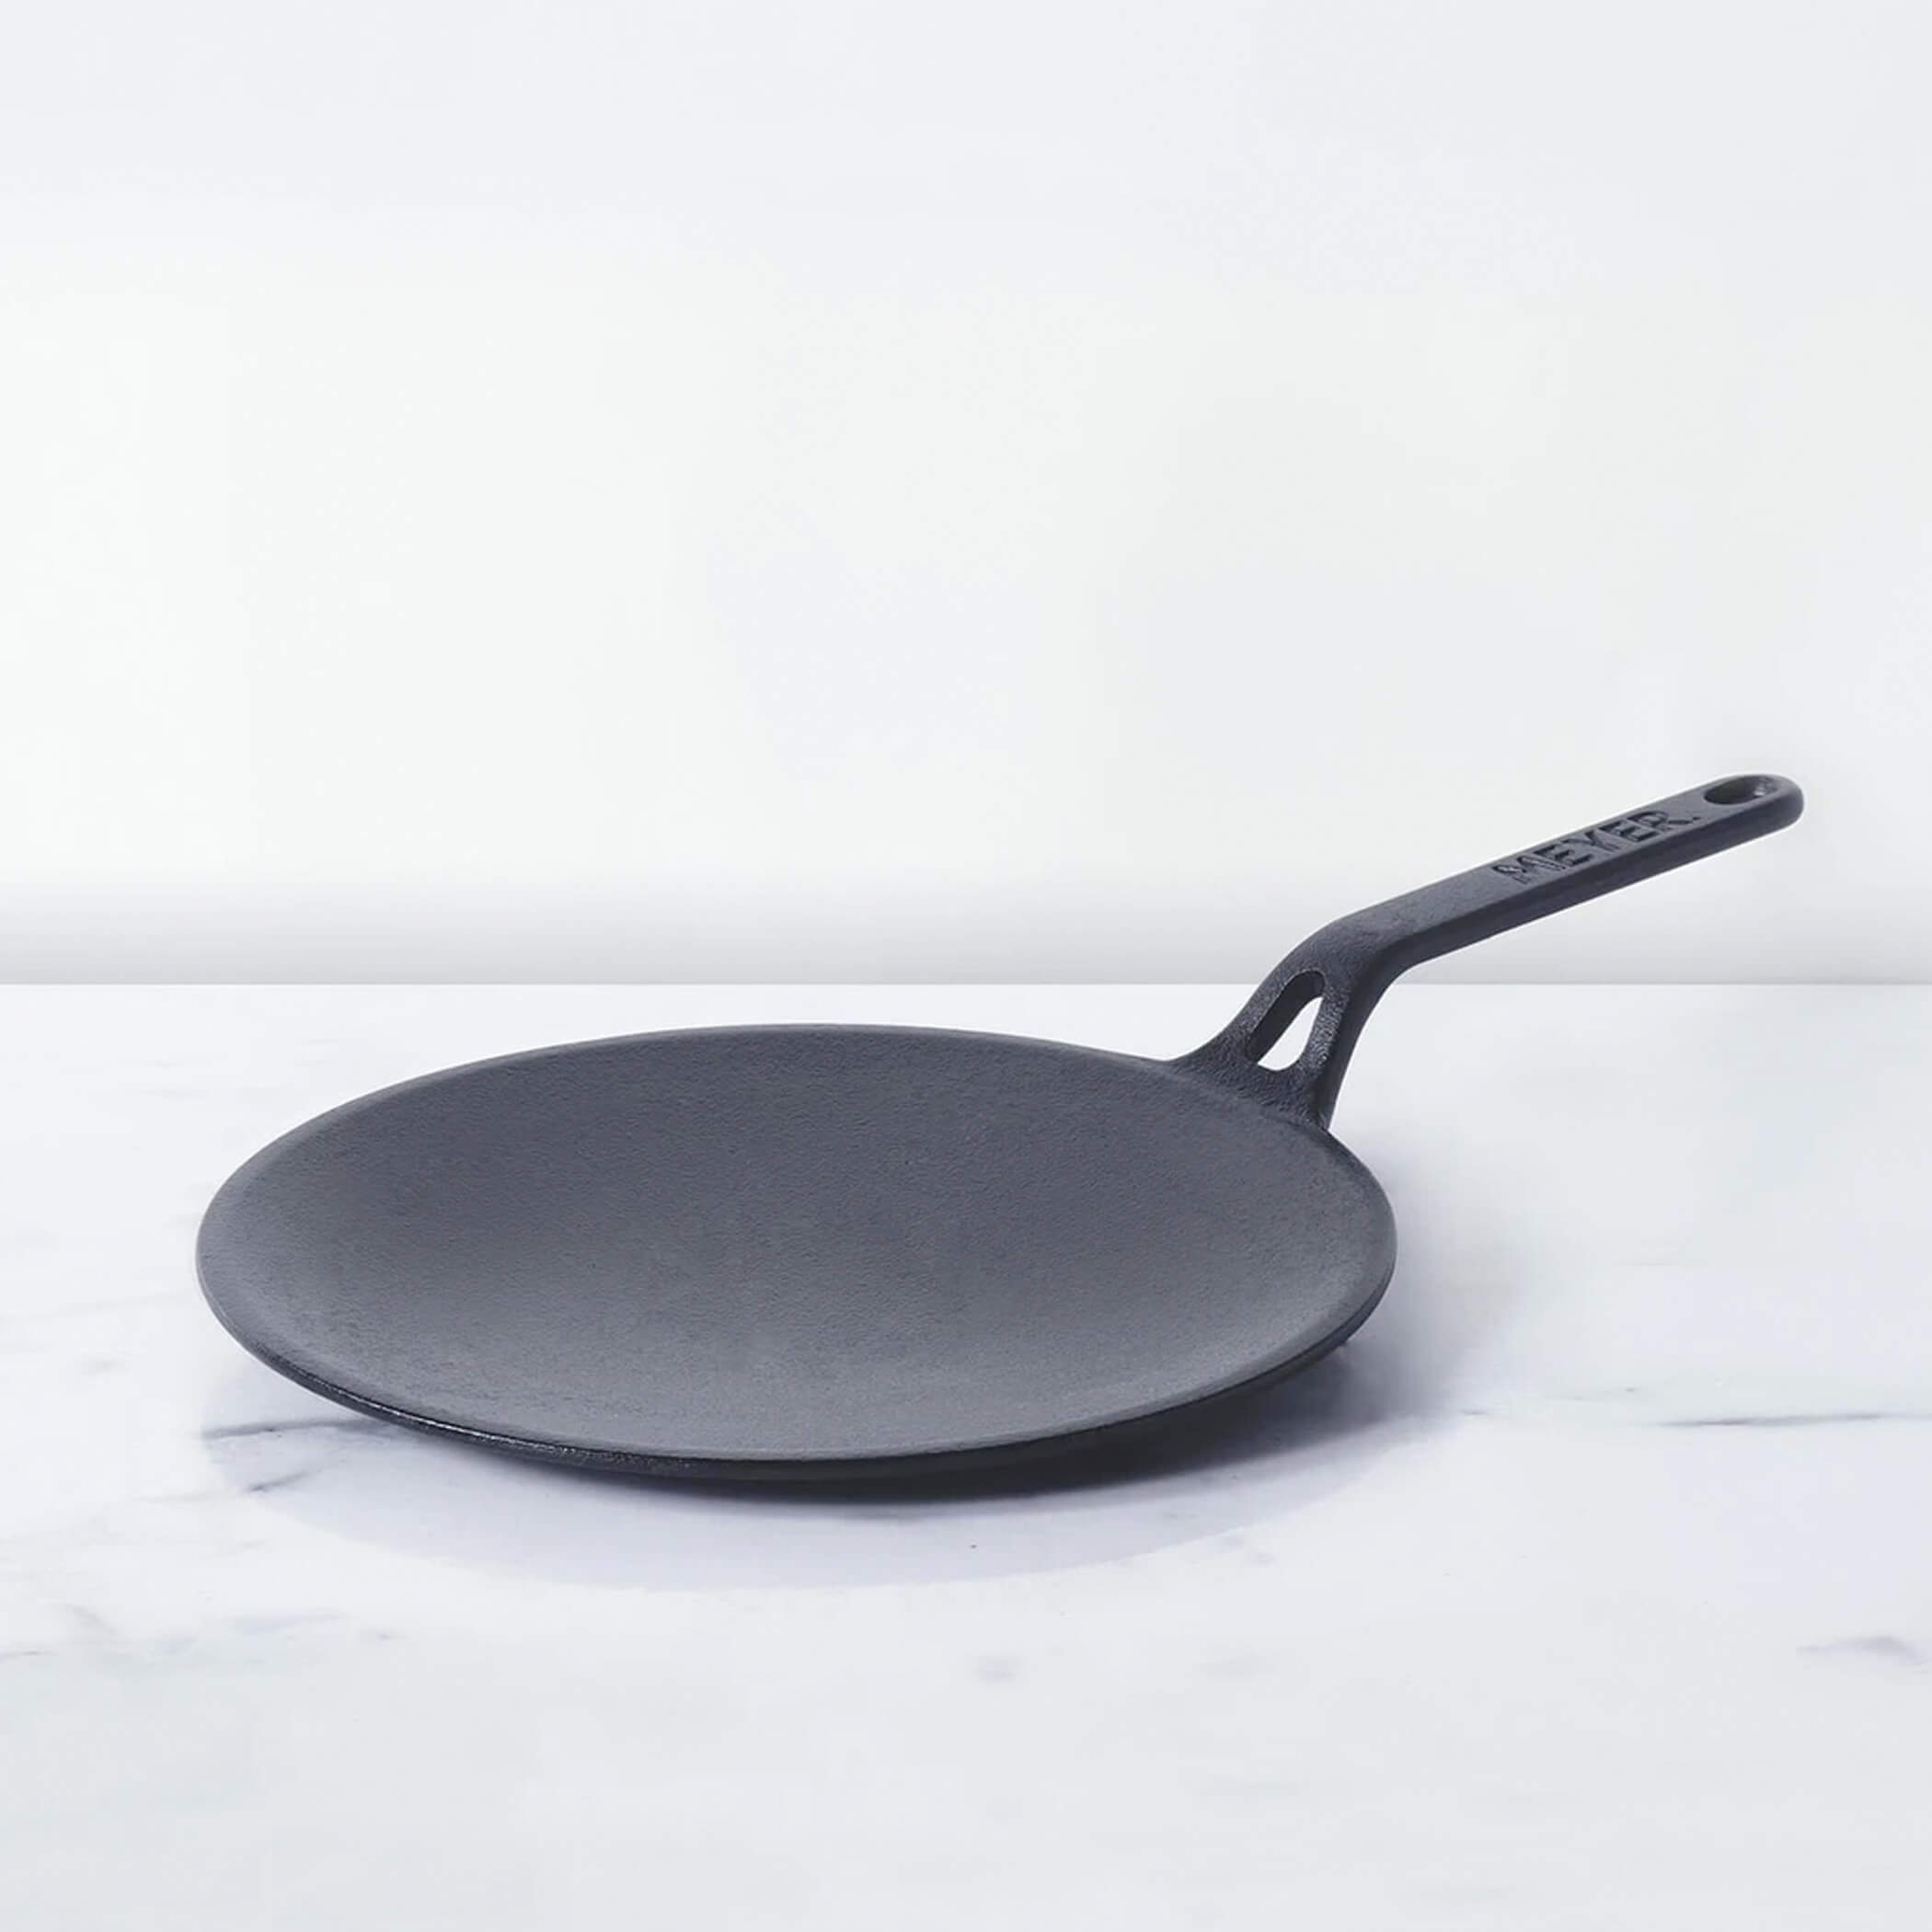


Leave a comment