


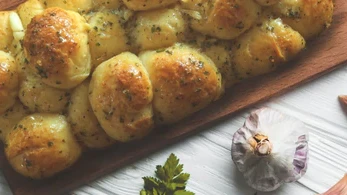
Pull Apart Cheesy Garlic Bread
A bread recipe that is not only extraordinarily tasty but also easy to share as there is no need to cut the bread into slices.
Pull apart garlic bread is a twist on the Classic Italian side dish by using a different way of eating it. adding the individual balls of bread makes this thing a perfect snack for groups without the effort of slicing and topping the bread with garlic. When people pull apart one piece and taste the delicious garlic butter with parsley, they are surely gonna go for another bite.
Table of Contents
- What is a pull apart Garlic Bread?
- Quick and Easy pull apart Garlic Bread
- How to make Pull apart Garlic Bread?
- Expert Tips
- Recipe Card
What is a pull apart Garlic Bread?
Pull apart garlic bread is a variation to the italian side dish, popular around the globe, eaten as a side with pasta or as itself by many garlic bread lovers. It developed from the Italian appetizer called bruschetta and traveled to the US. Restaurants in the US have been serving this on their menu since the 1950s as sides to pastas and some soups. pull apart garlic bread dawns on the original flavor with the different style of bread making.
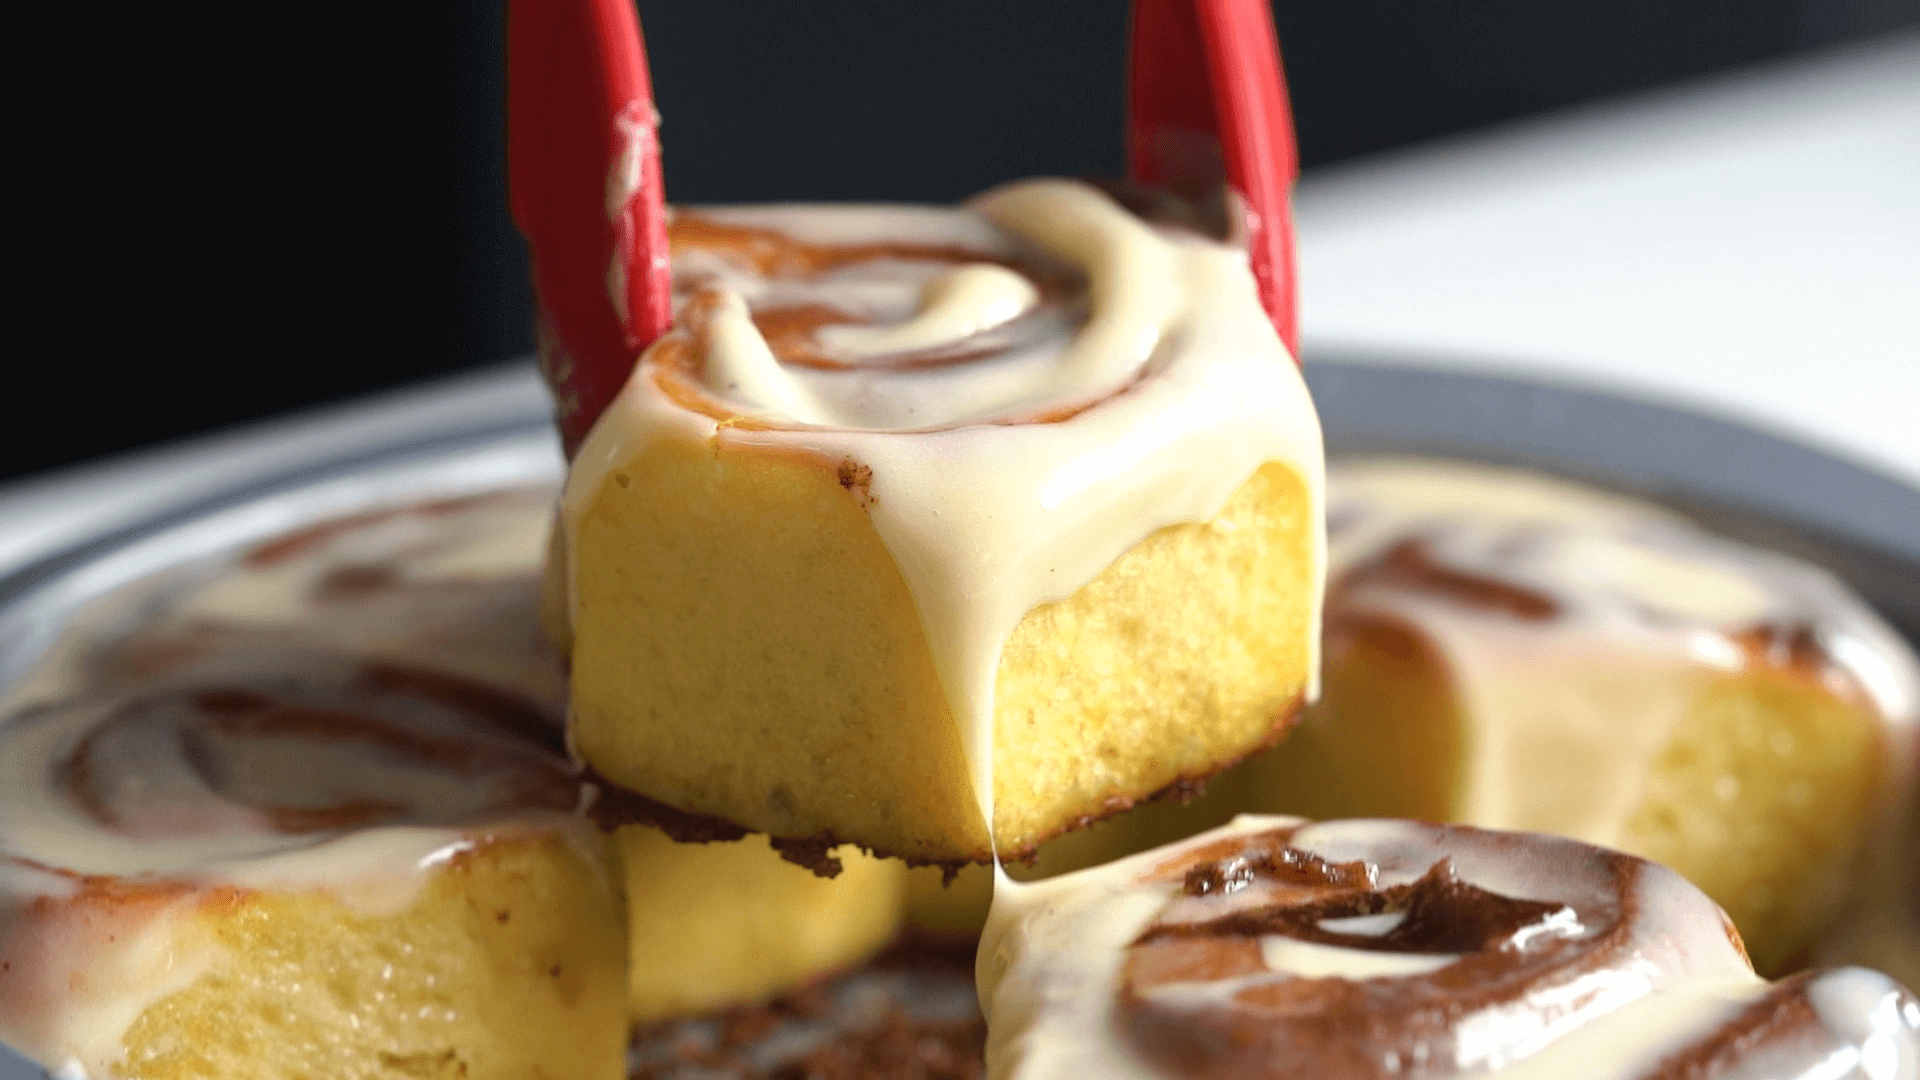
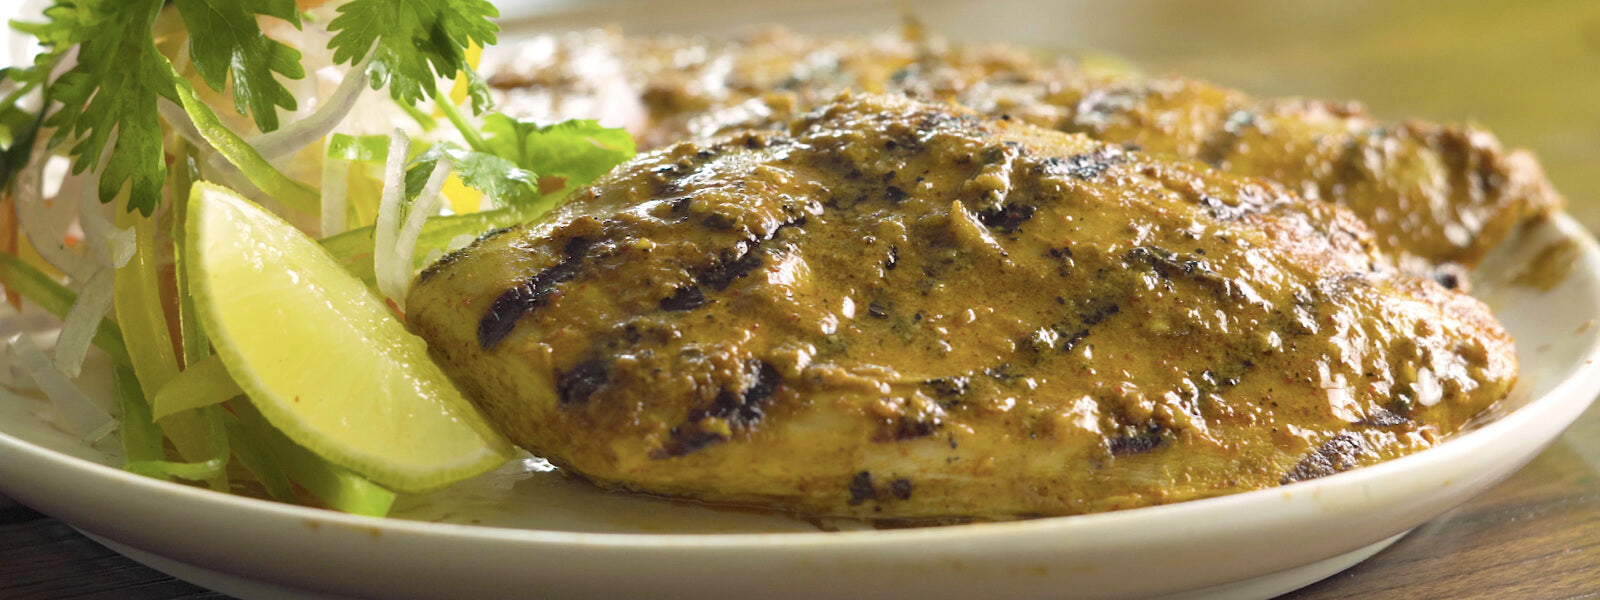
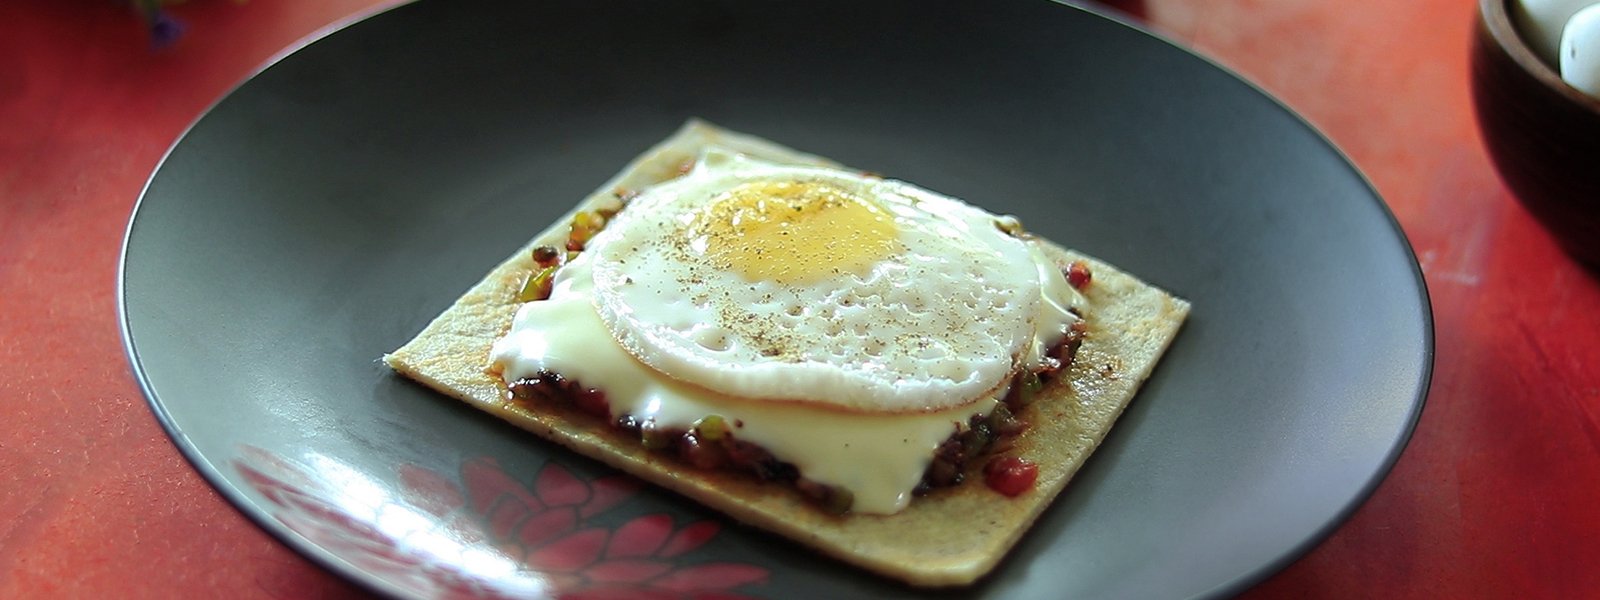
Some Baked Recipes
Quick and Easy pull apart Garlic Bread
This is a recipe that can be defined as one of the favorite comfort foods across the world, though once you try it, it's going to be a part of all your meals. This style of cooking garlic bread not only makes it an interesting sight but also a very convenient thing to prepare, without the hassle of slicing the bread, topping them and baking them individually.
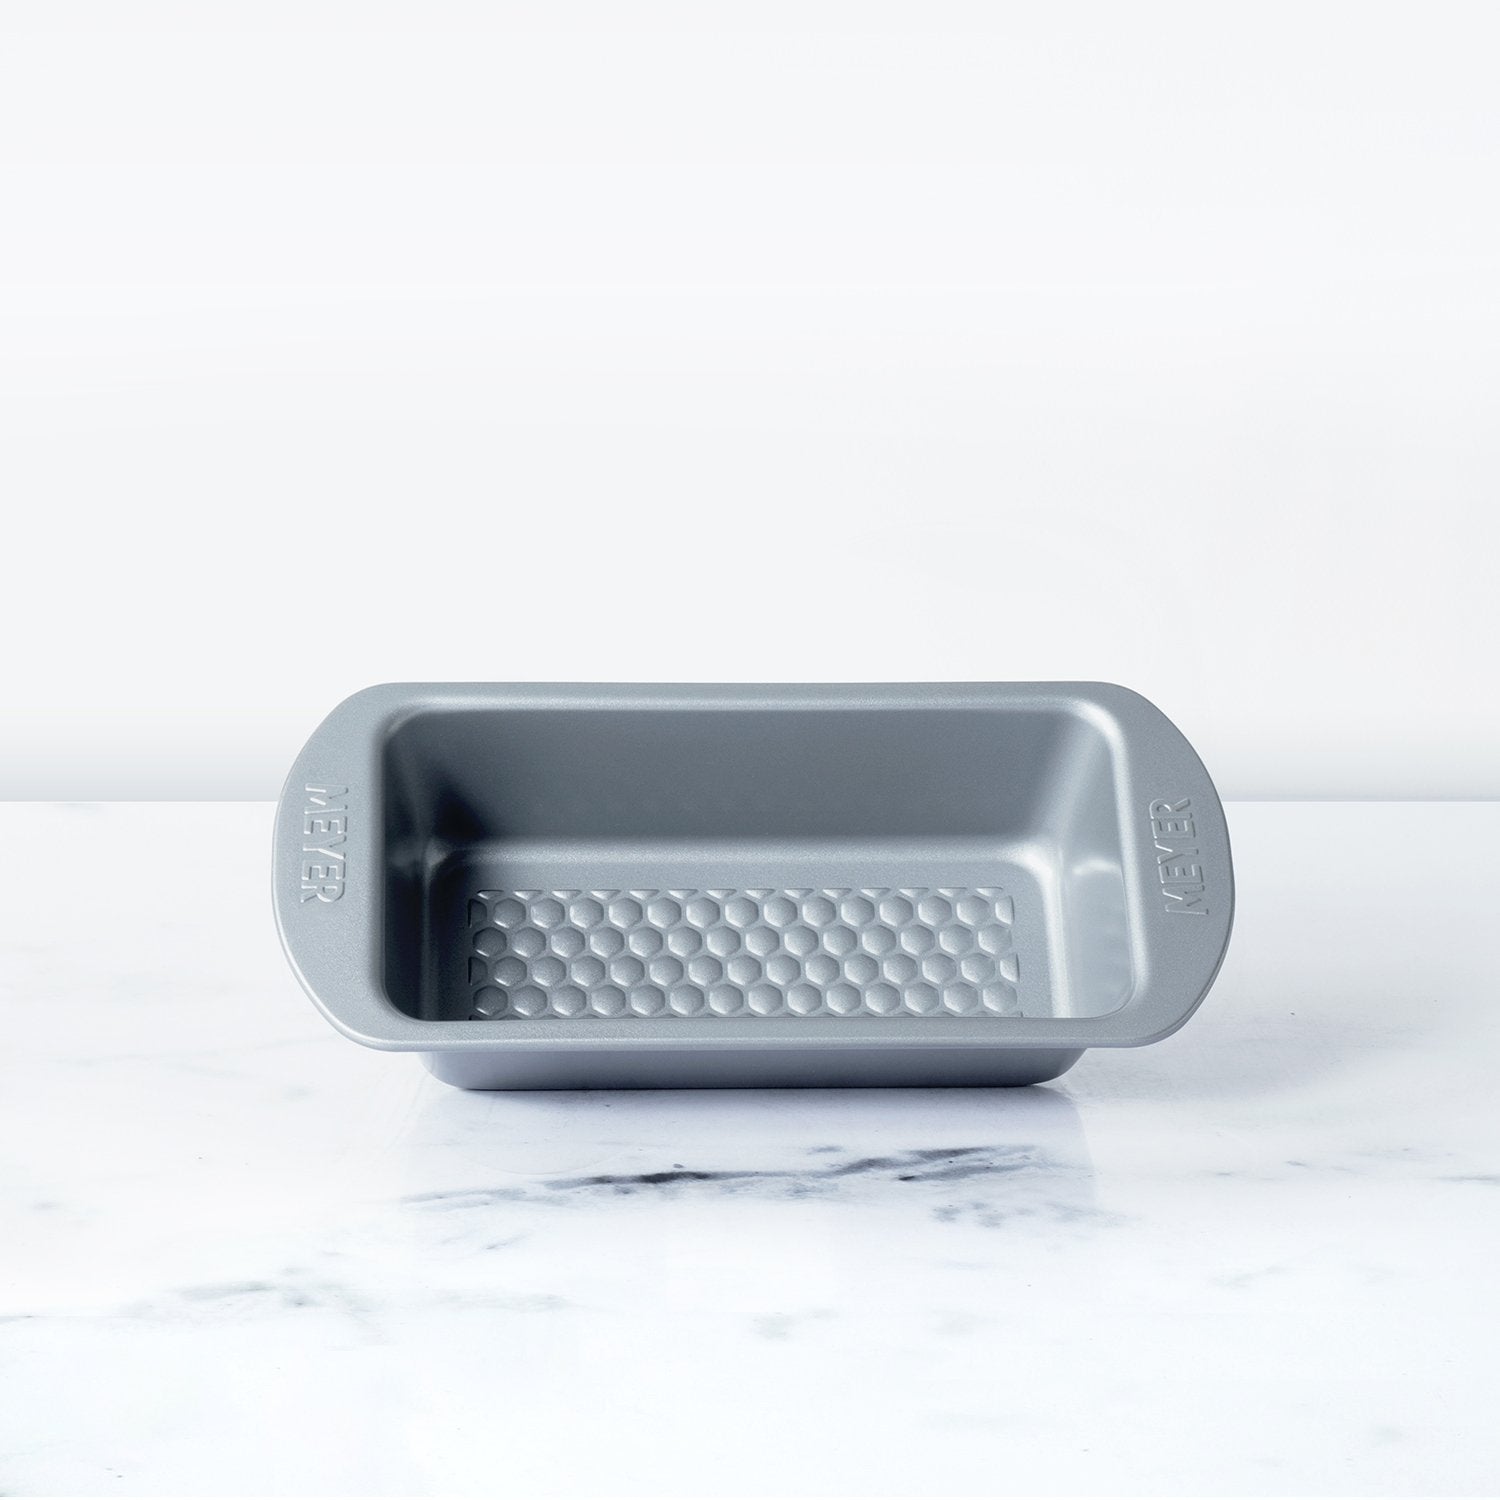
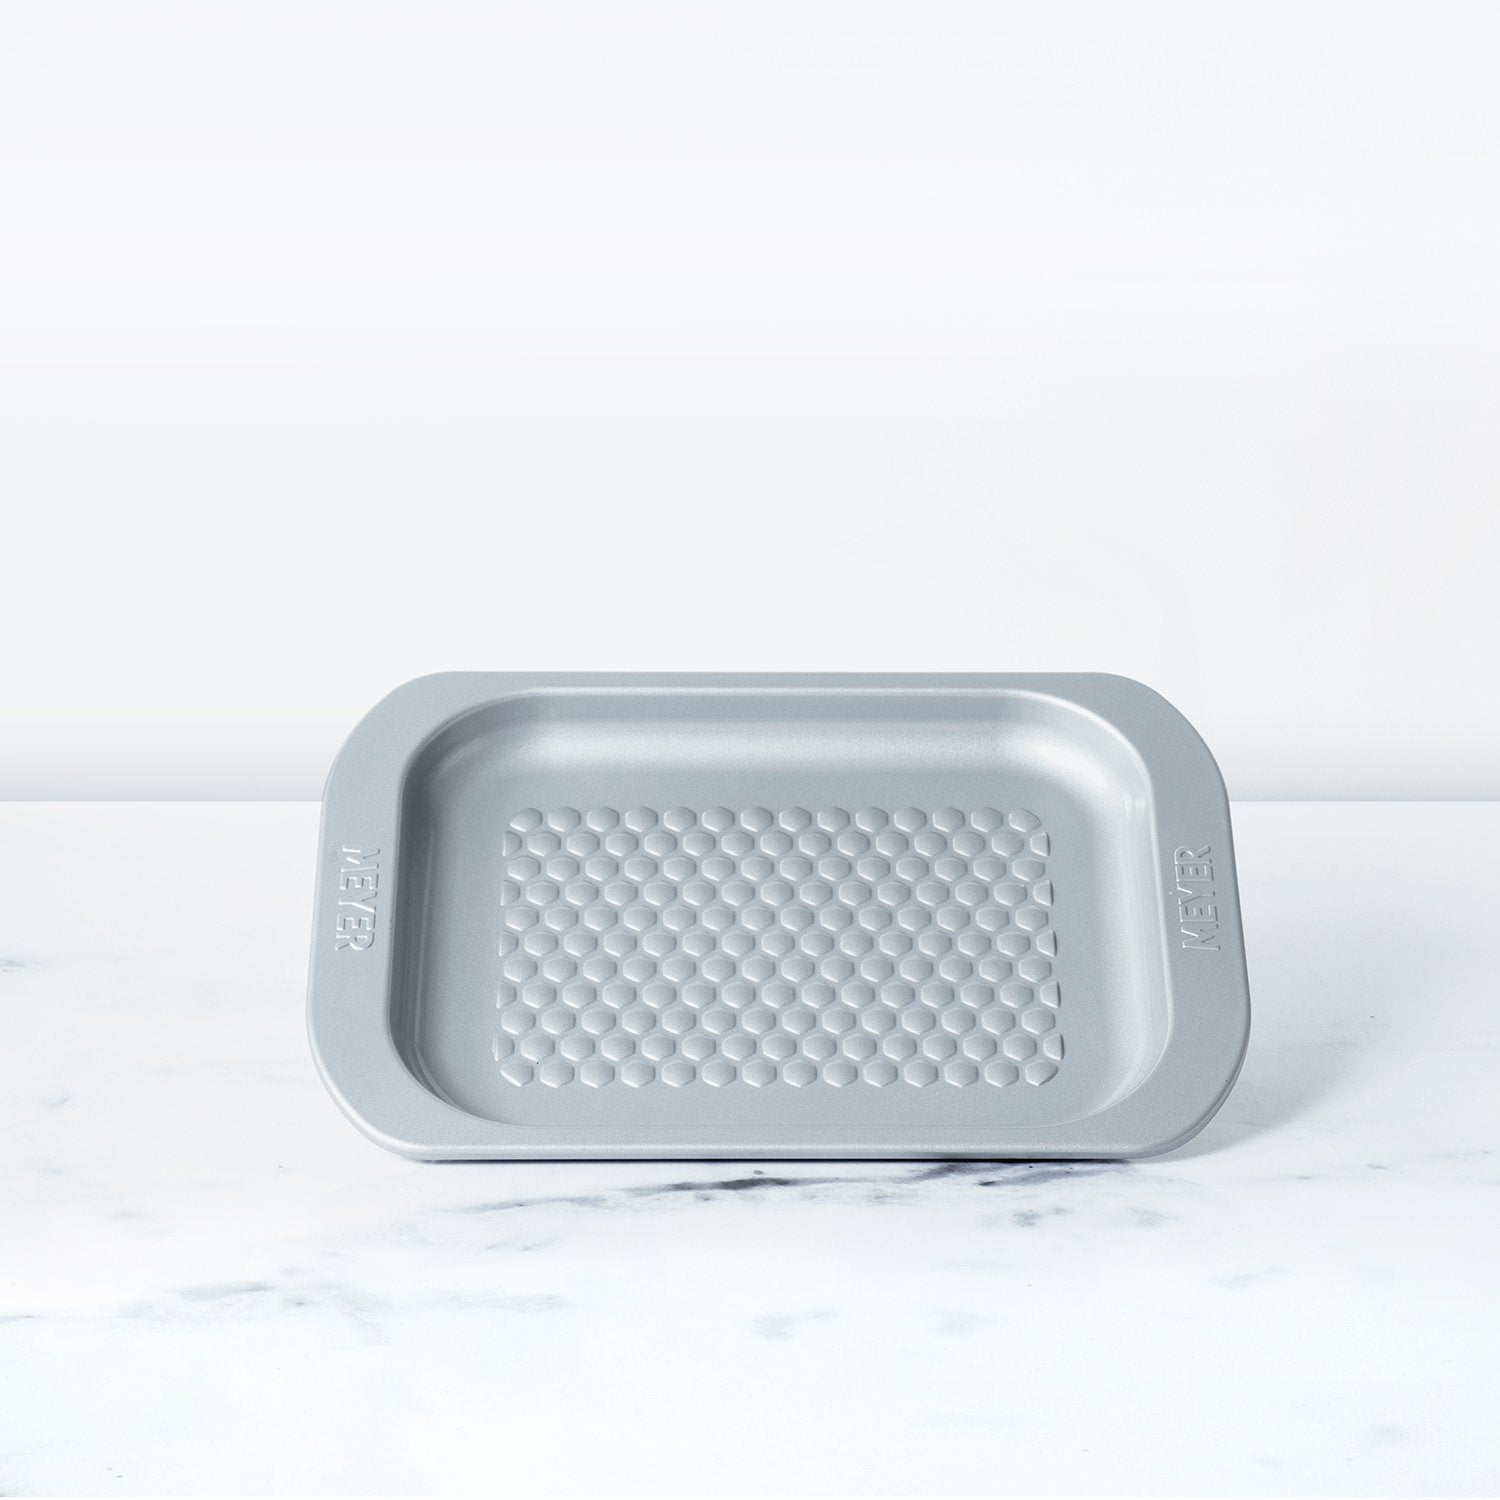
Suggested Cookware
How to make Pull apart Garlic Bread?
1) Start by turning your oven on and set it at 180 degree celsius to preheat. This helps to give the bread an even rise and color.
2) In a bowl pour lukewarm milk, add your measured yeast to it, followed by the sugar and 1 tbsp salt, crack one egg on top and mix everything using a wire whisk.

3) Add your refined flour to the wet mixture and start to mix the dough with a silicone spatula. Once it starts to come together, turn it out on a floured surface and knead the dough for 4-5 minutes.

4) Add 2 tbsp of olive oil to your dough and knead it till it is totally incorporated. After kneading, tuck in your dough from the sides to form a smooth surface on top and let it rise in an oiled bowl, covered with a damp cloth in a warm environment for 1 hr.

5) While the dough is proofing, start making your garlic butter by adding melted butter in a bow, followed by minced garlic, parsley, garlic powder and season it with salt and pepper to taste.

6) Take the risen dough and knock all the air out of it. Start dividing and rolling the dough into small balls. In a Meyer Bakemaker Loaf Tin, start to layer all the dough balls and your garlic butter and cover it with a cloth for 1 hr, for the second and final proofing.
7) After 1 hr, take the leftover dough and add one egg to it. apply the egg wash on the proofed dough and put it in the oven heated to 180 degree celsius for 1 hr.

8) Remove the mold and enjoy.
Expert Tips
- Make sure to add the olive oil after kneading the dough for a while, because fat hinders gluten formation.
- If the cloth covering the bowl isn't damp, the dough will dry out.
- Keep the dough in a warm environment for proofing, cold temperatures slow down the rise.
Recipe Card


Superb recipe’s !! Please post some of the vegetarian options.
Leave a comment